Just found out my dashboard lights died on me. Then I'm told they only handle 3v and not the 5v I was feeding them. Since I don't use light controllers, I use pre-wired LED that can handle 12v. My RCs all run on 3S lipos, so the voltage is perfect for these LEDs. I was not too sure what voltage to feed to the dash lights and assumed 5v from the receiver would be fine.
Long story short, mine died, I wanted them to work again, but was not ready to buy them again. Not sure if they are sold separately, so I decided to make my own. Below is how I did it. Obviously, I had to remove the interior to get to the dash lights. Here, you can see my dash with no lights.
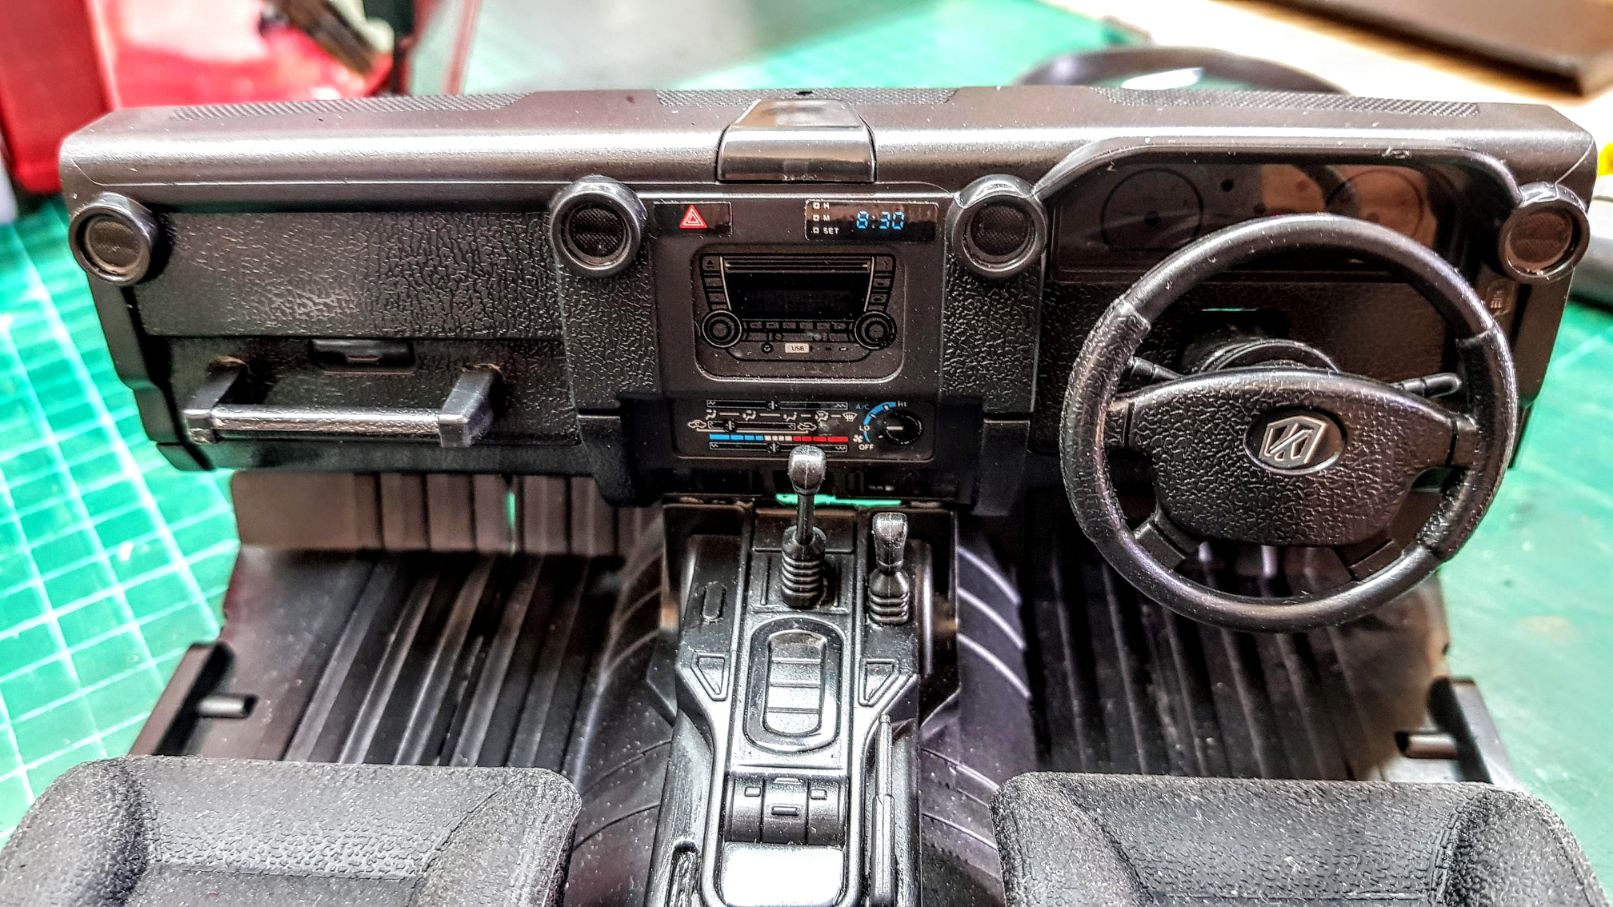
I removed the 3 screws holding the stock LEDs in place.

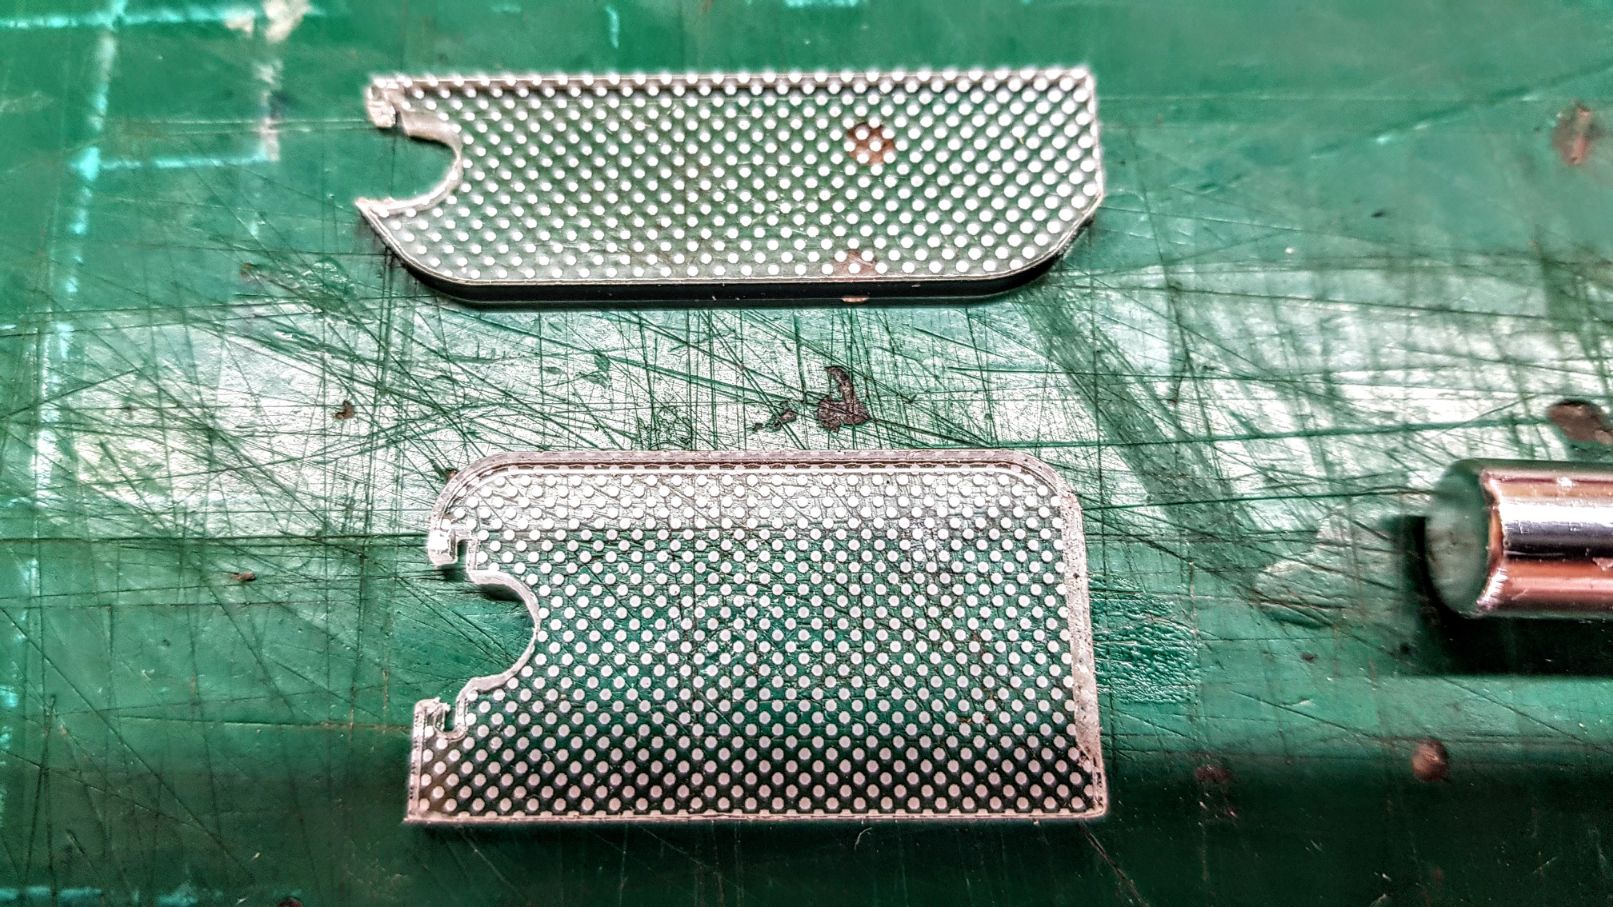
This is the cover that holds the stock LEDs in place at the back of the dashboard
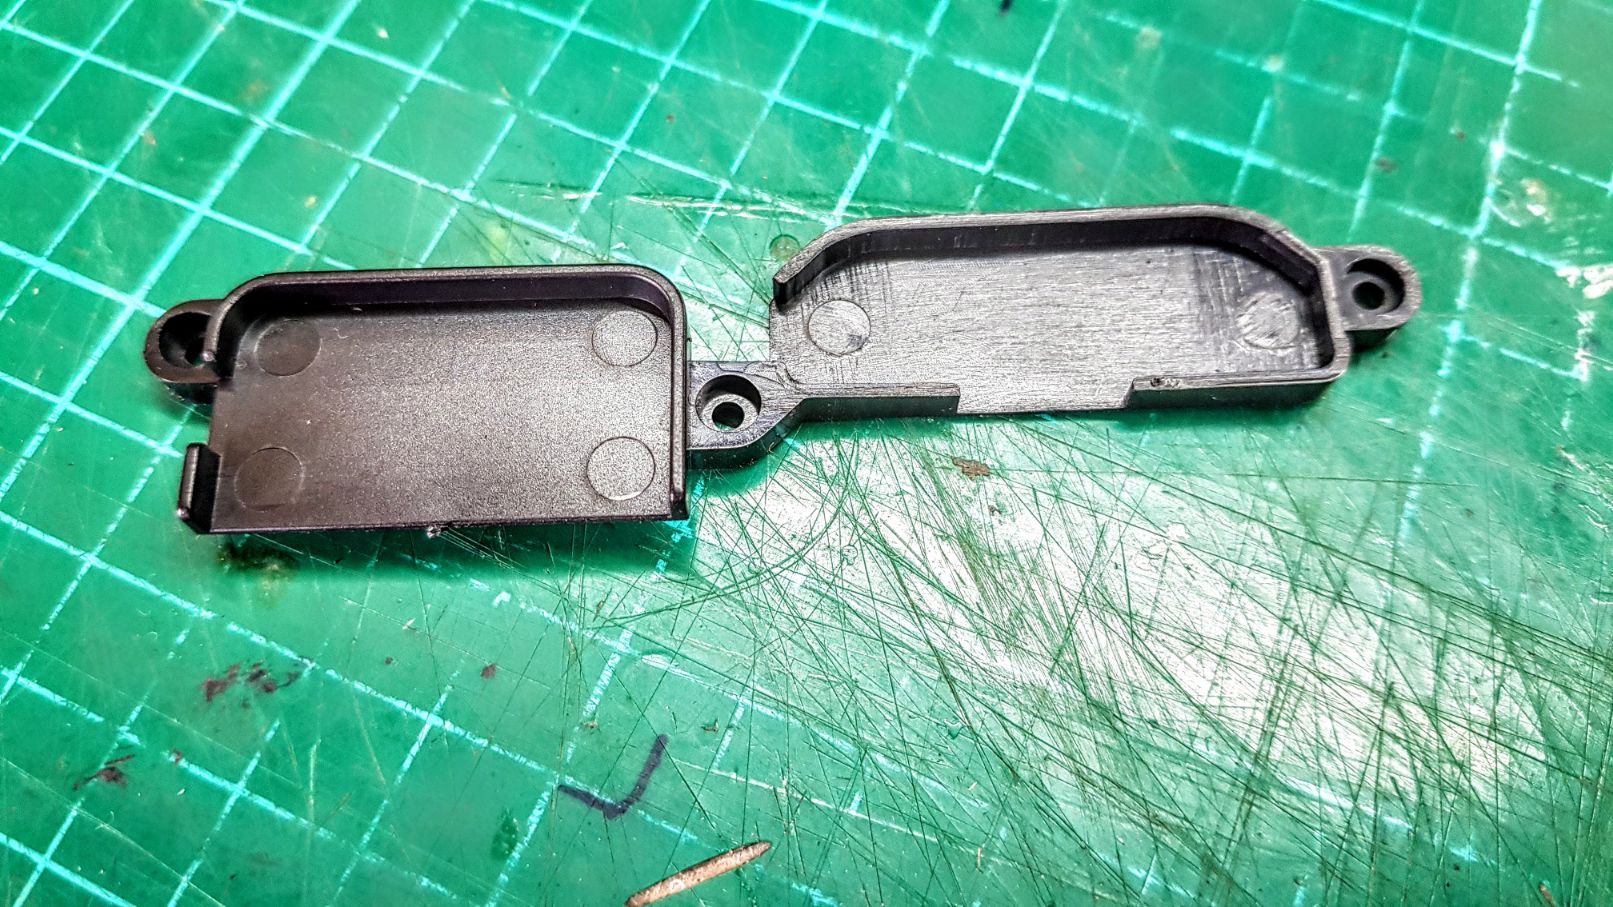
Here are the LED lights. Well, this is what they look like after you take them apart and get ready to throw them out 
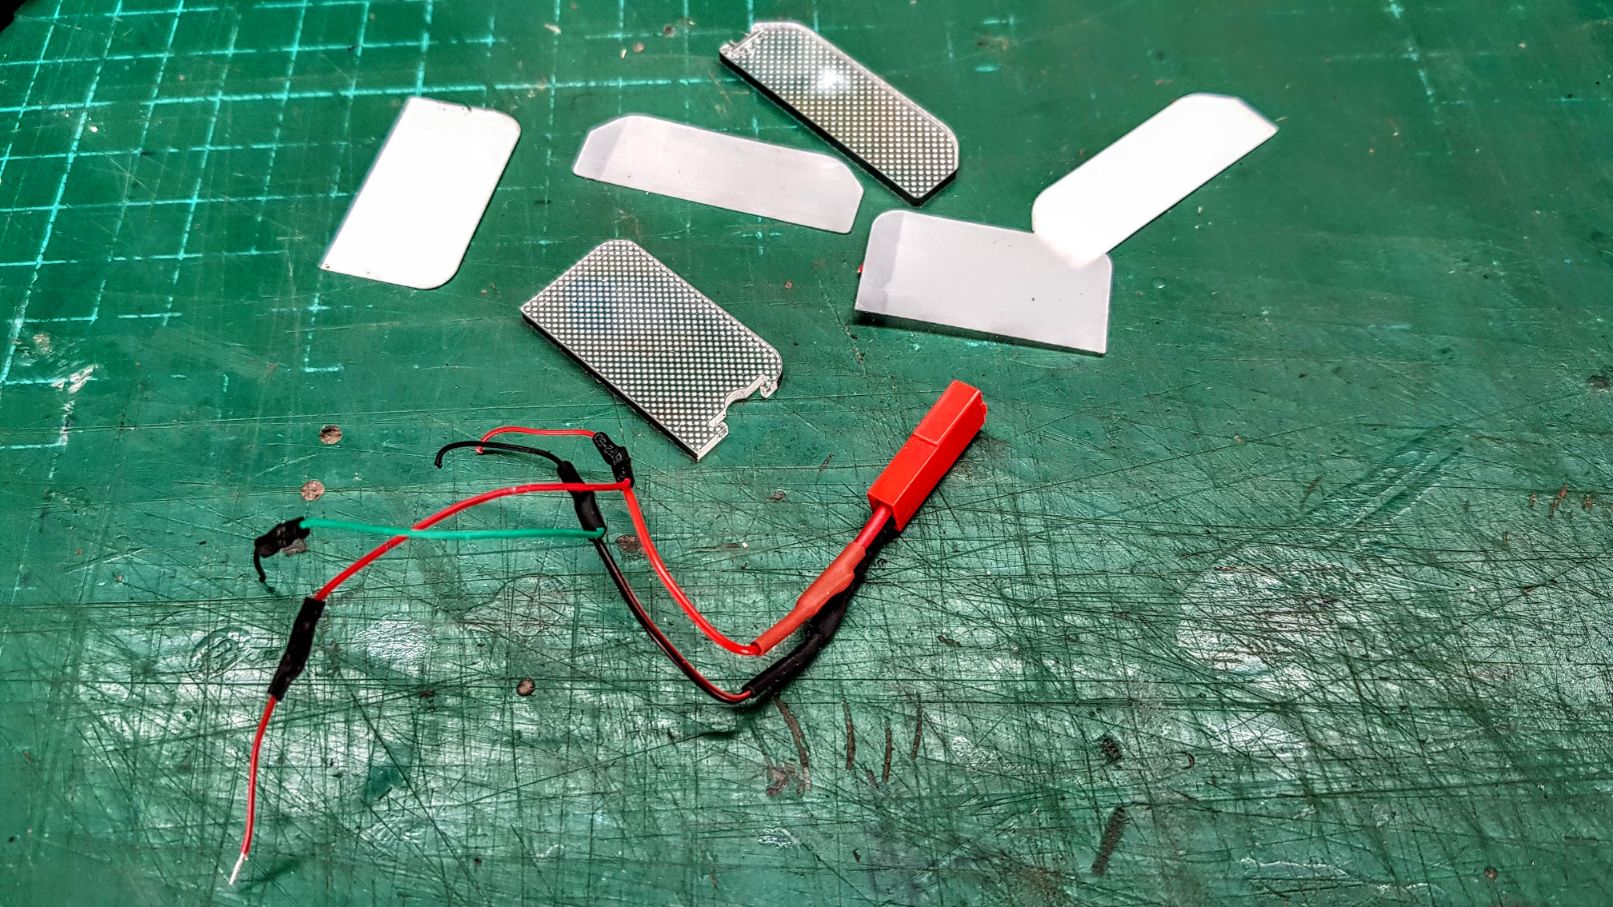
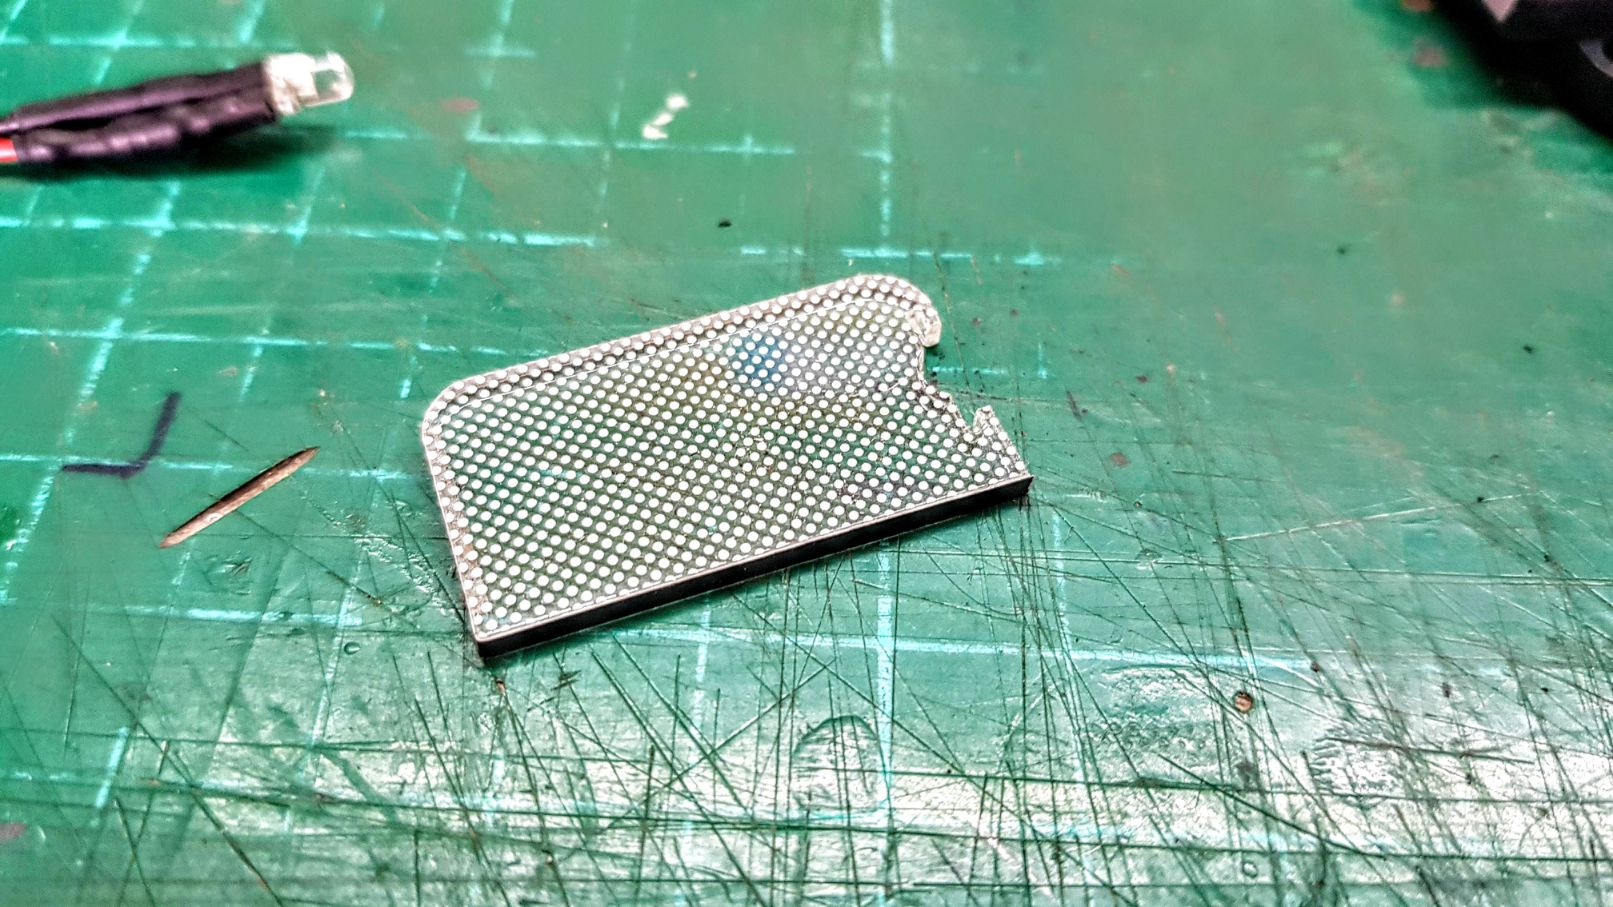
Then I started thinking. This is the reflector of the tiny LED that fits inside the hole on the right.
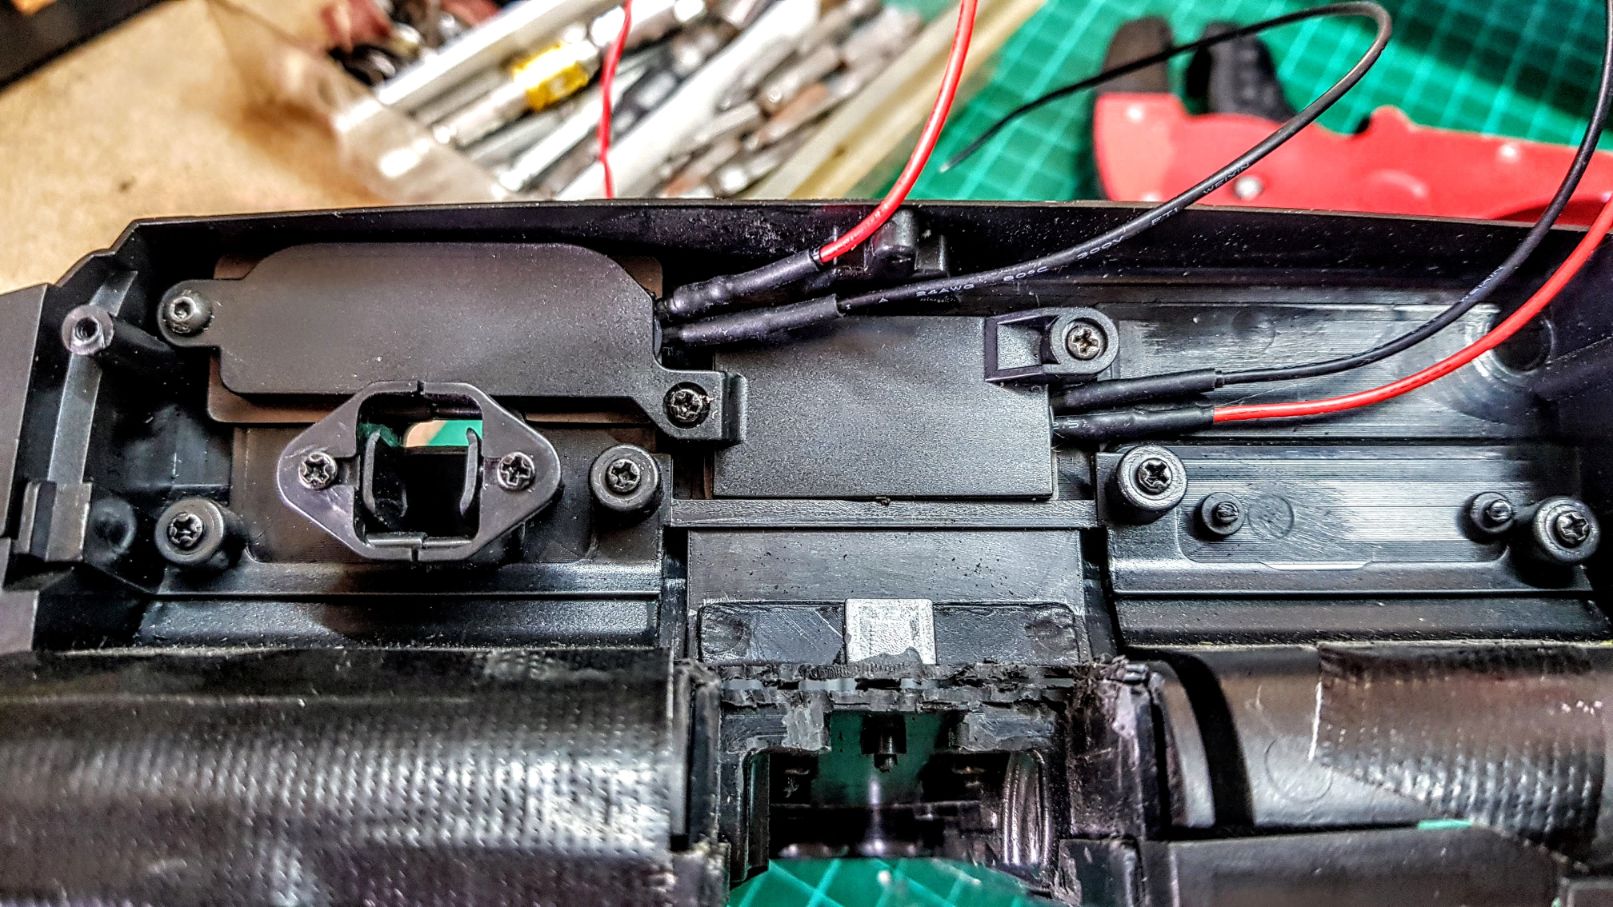
I used my Dremel to make those holes big enough for my 3mm LEDs to fit between the back of the dashboard and the plate that holds them in place.
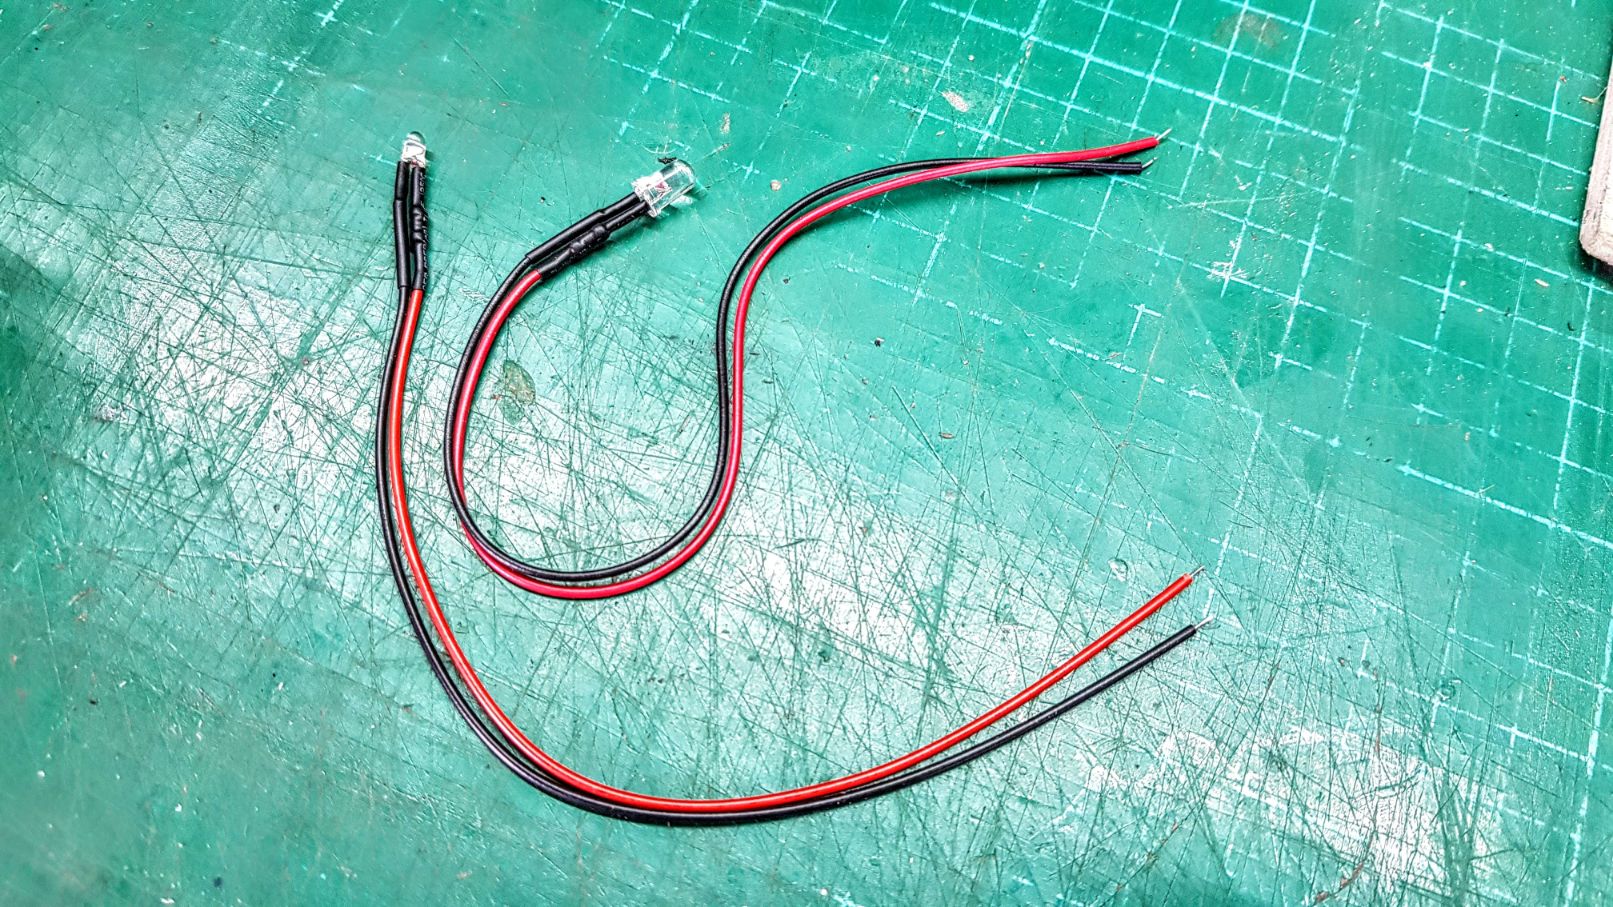
These are the 12v pre-wired LEDs I buy.
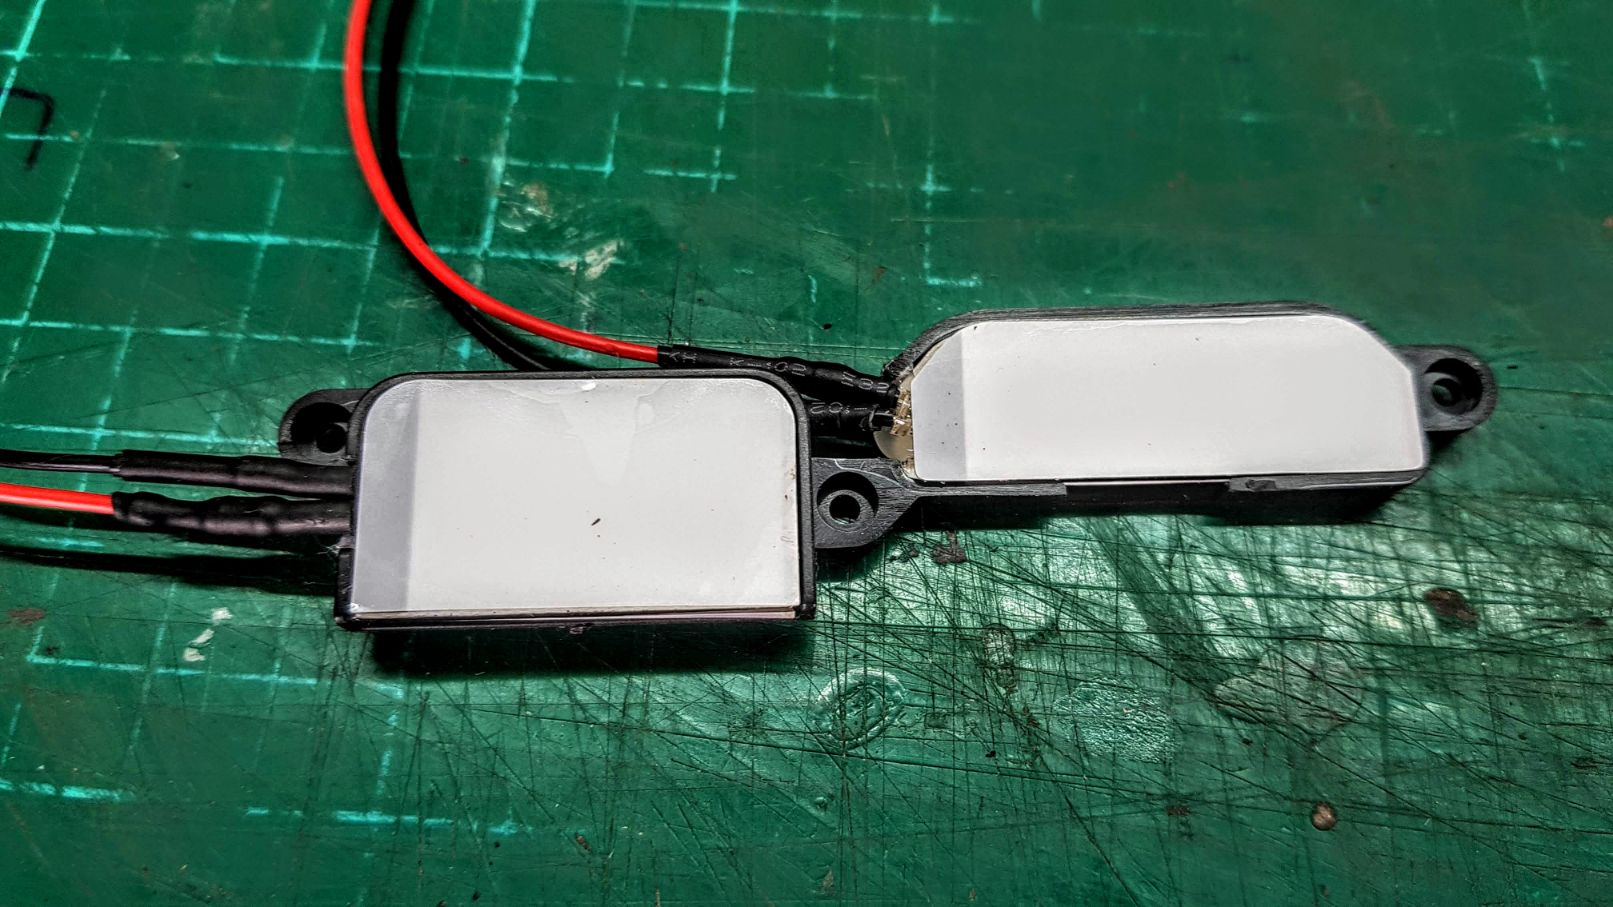
Used some hot glue to keep the LEDs in place while position the whole setup towards the back of the dashboard.
Inserted the 3 screws and…..
Voila….. THEY WORK
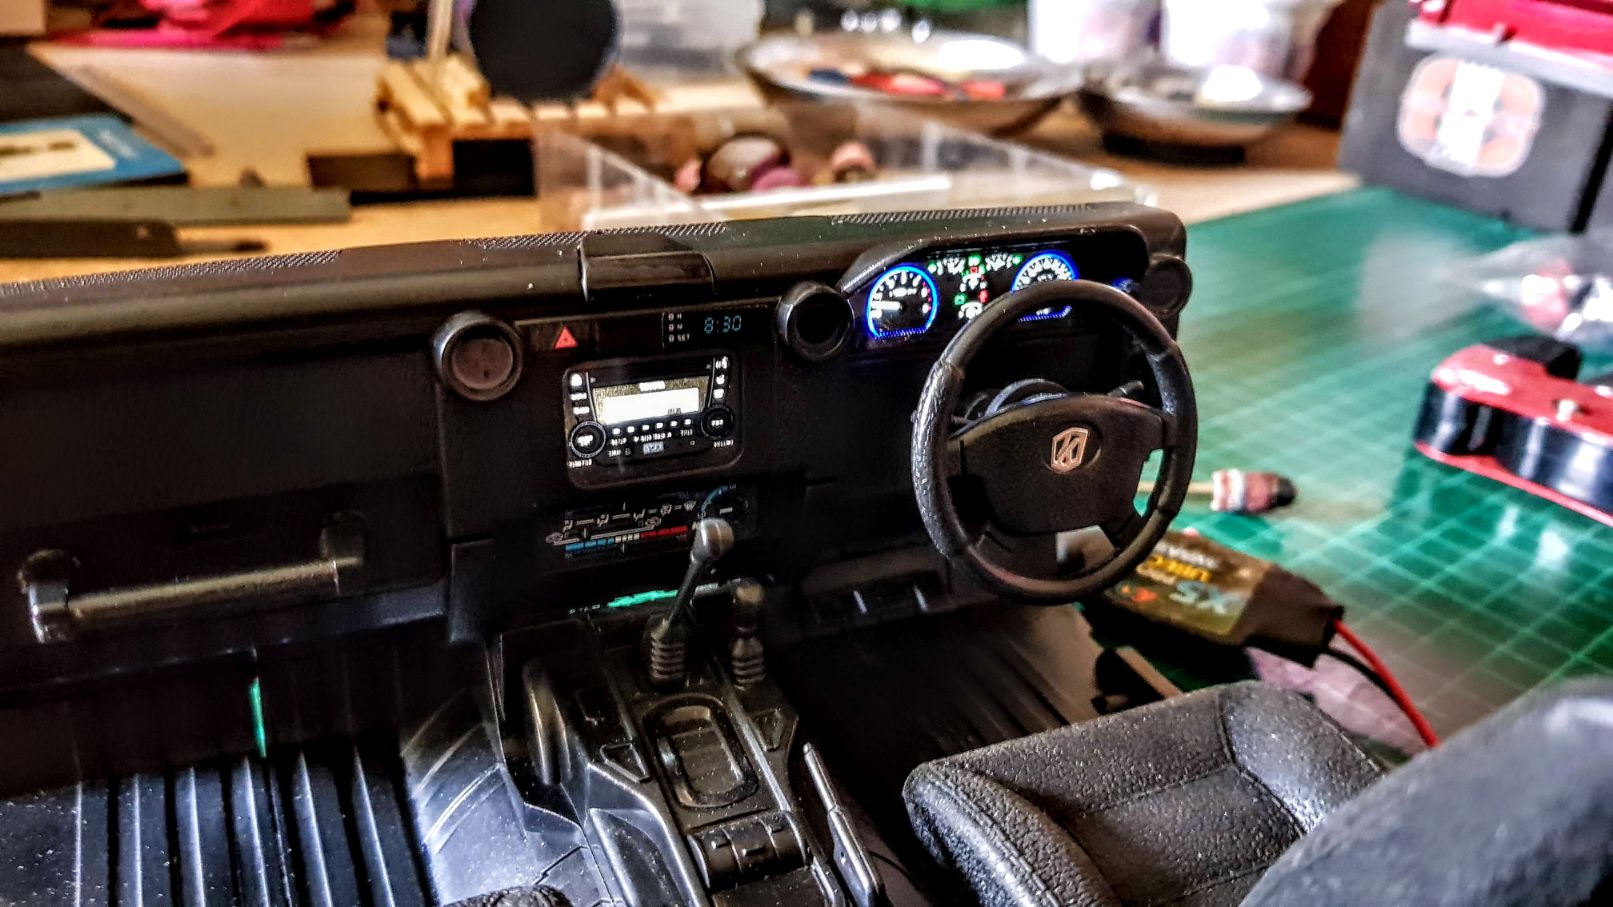
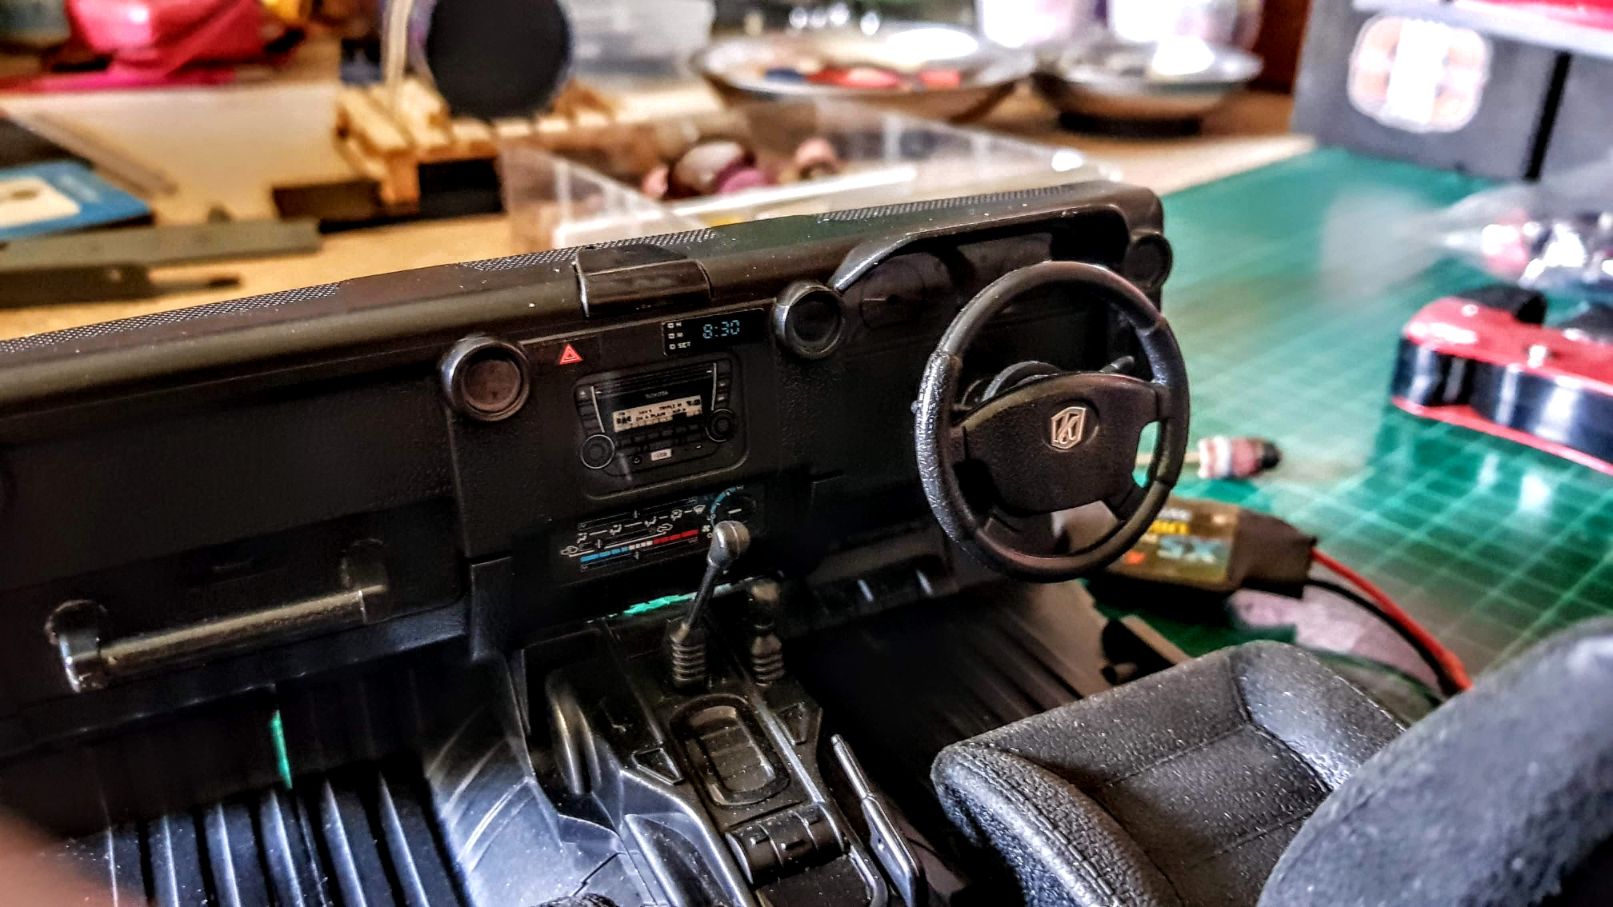
Dashboard lights OFF
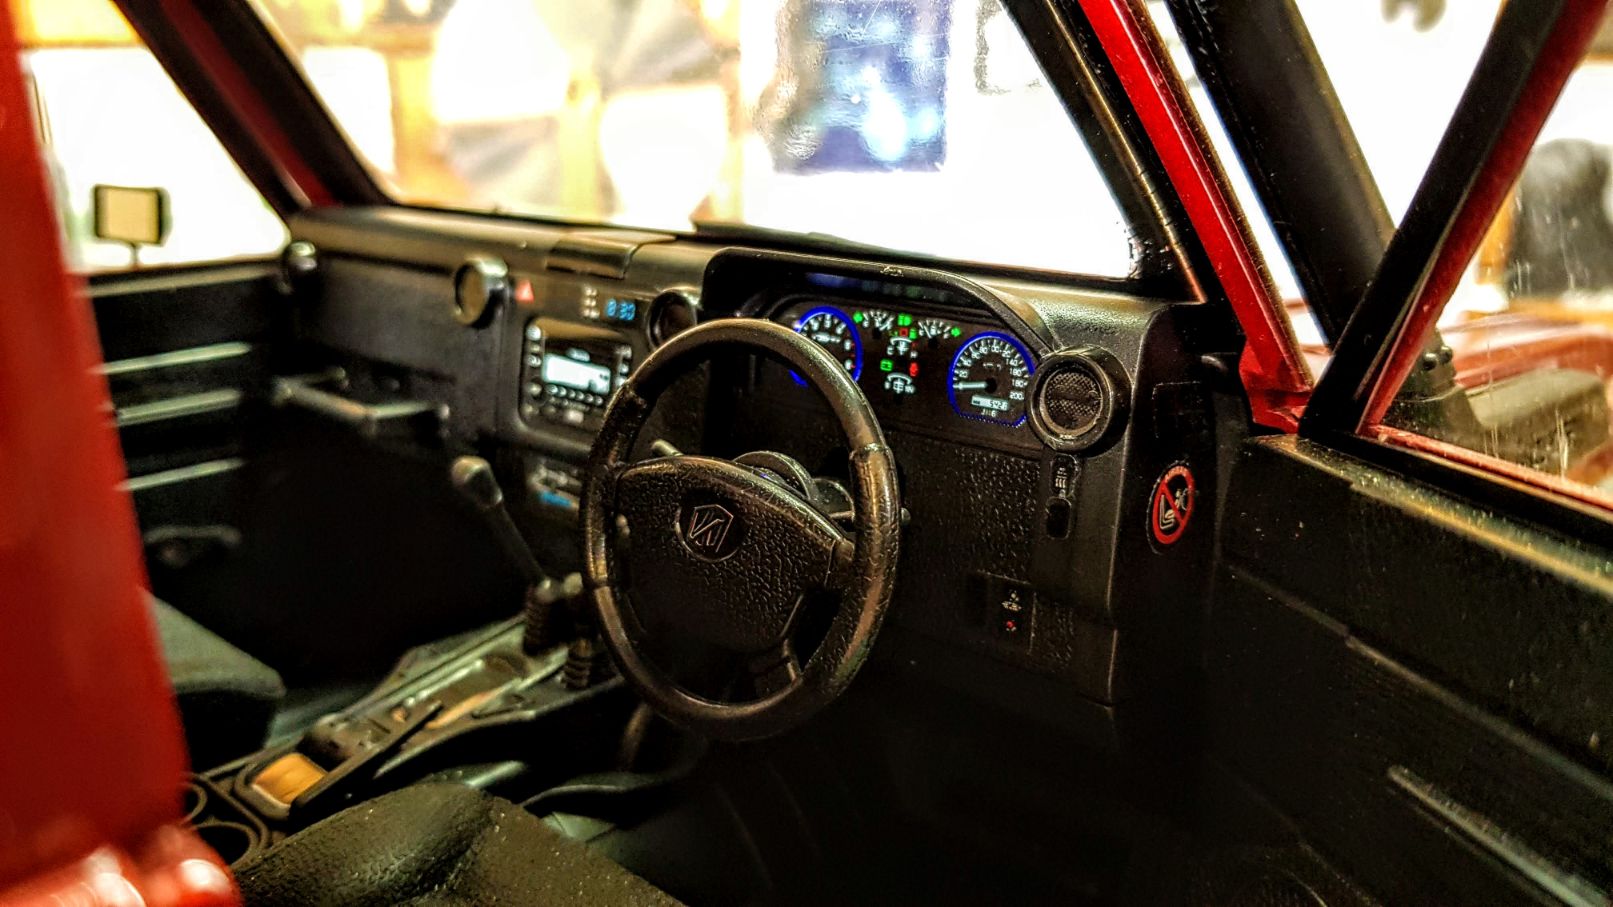
Dashboard lights ON.
and it cost me all of an hour or so, and about 50 cents in LEDs
Still feeding them 5v because I am sure they will heat up in that confined space. Will monitor it.
How good is that? |