Installing the 4Runner body mounts on the TF2 chassis
Start off with this body mount. There's 4 of these. Make sure you use the correct holes in the chassis to allow the mounts to align with the holes in the body.
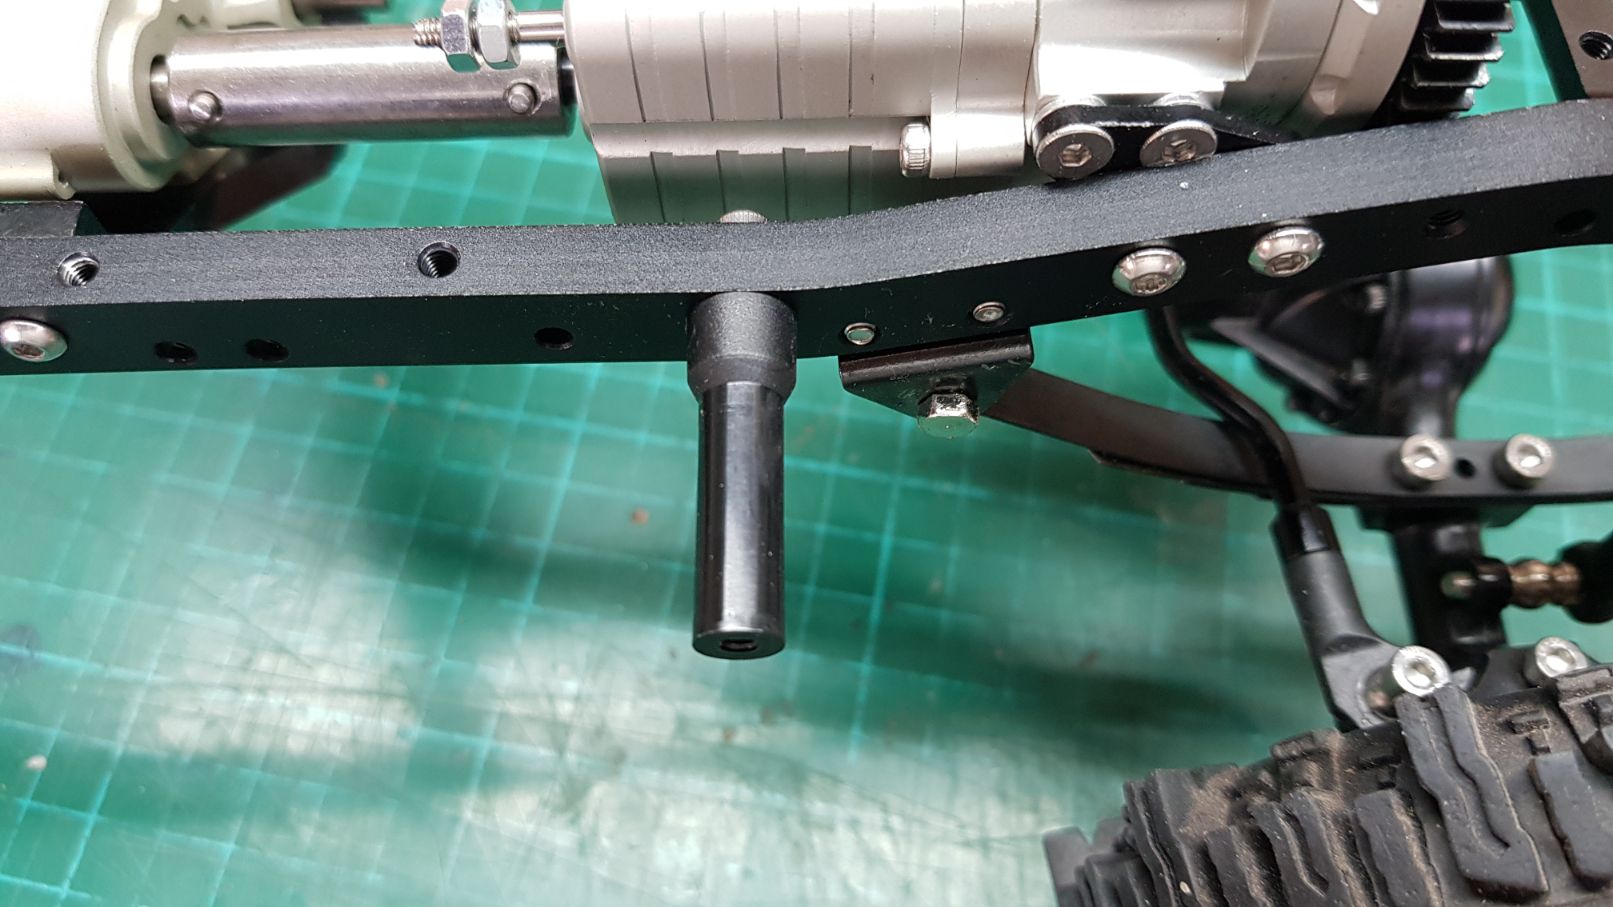
Next, install this part. It will hold the plate which the body screws onto.
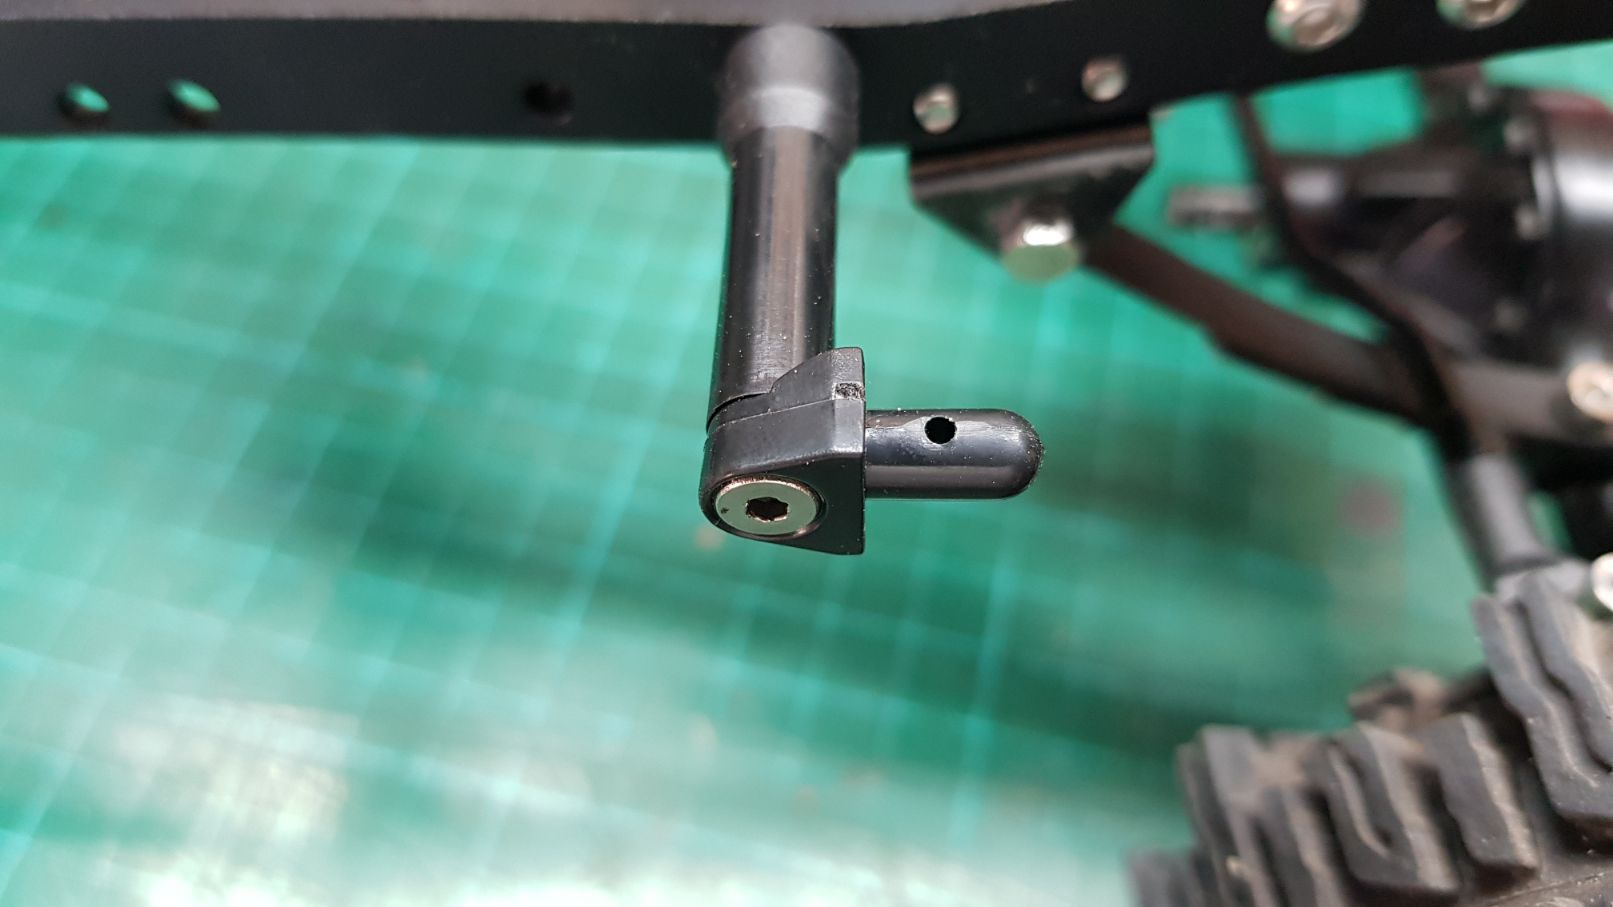
Make sure that the pins are pointing in the right direction. The one pointing up is in the rear, while the other is pointing towards the front. None of the pins point towards the rear.
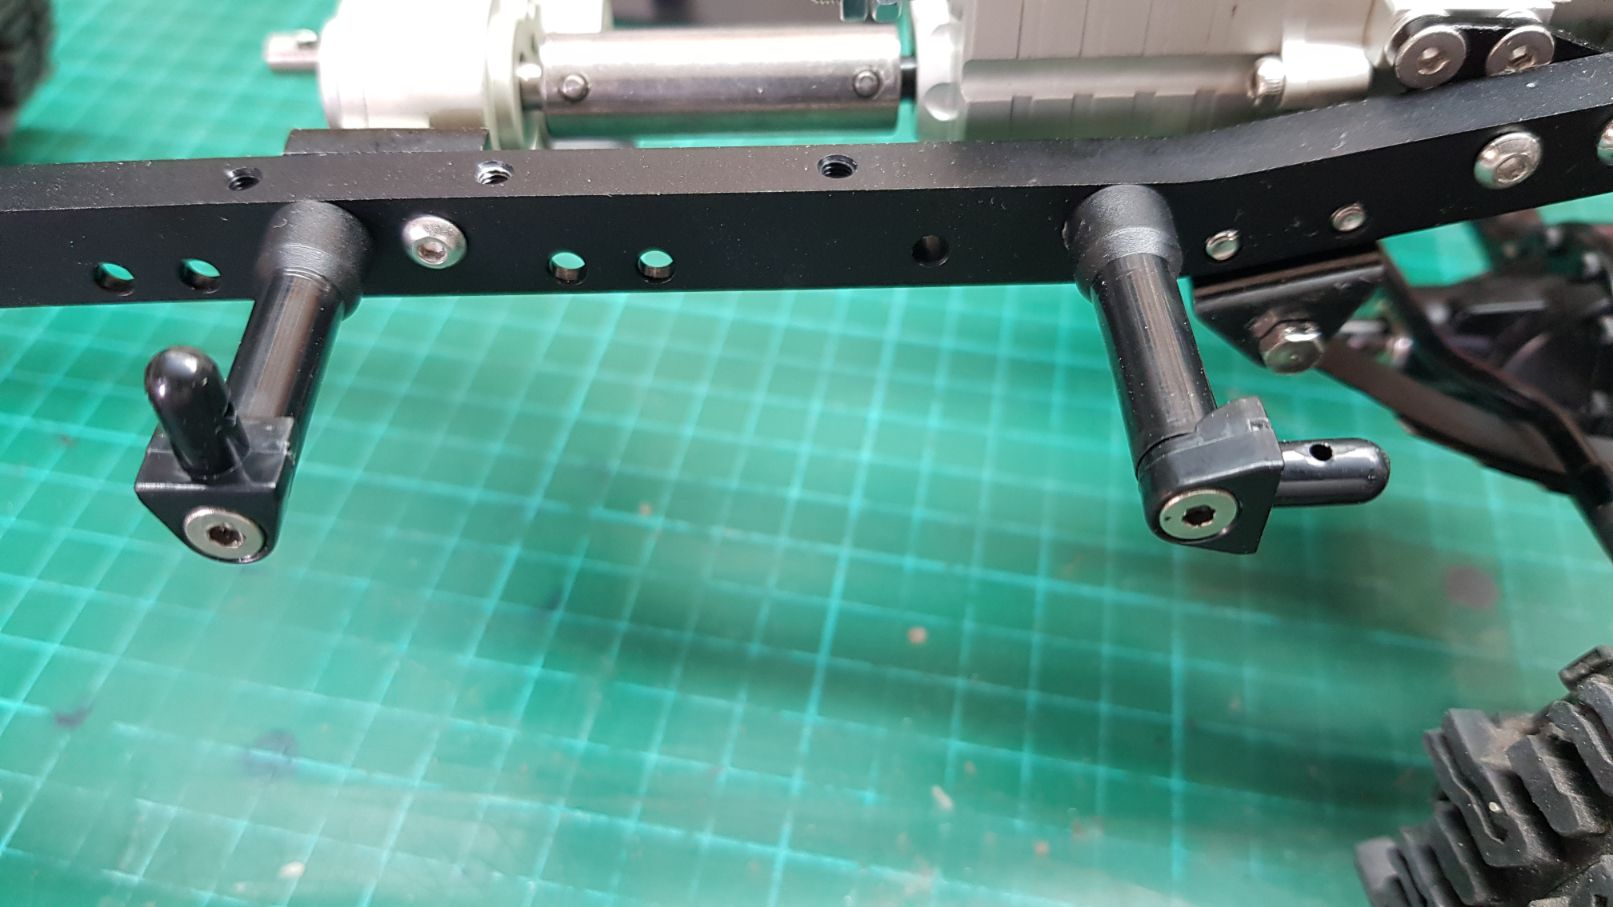
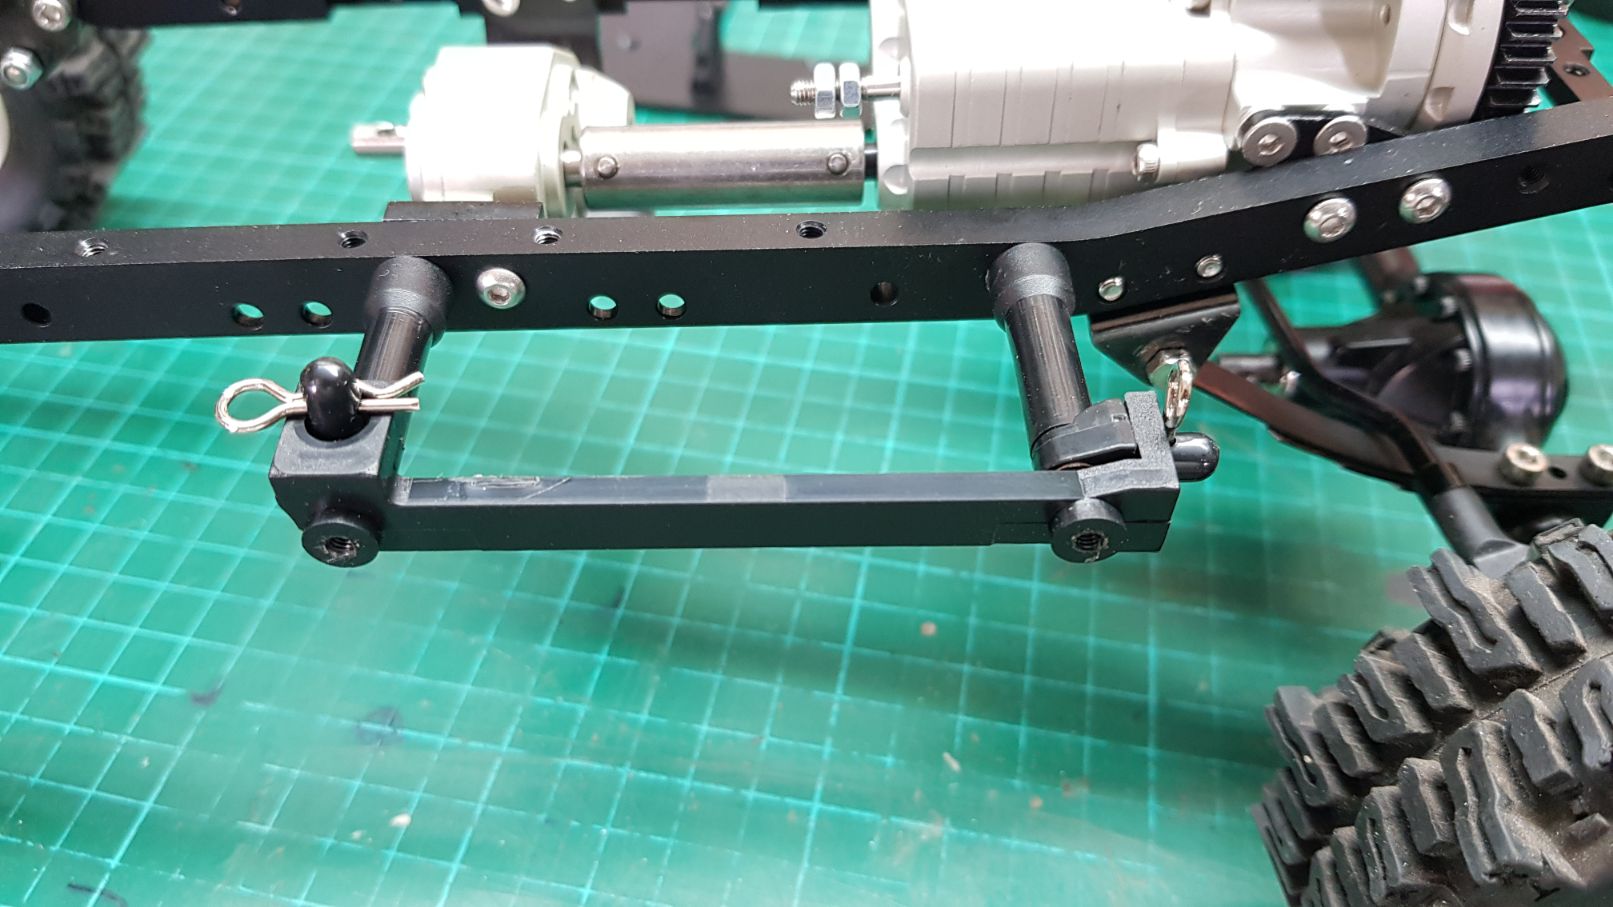
Now we mount the body mounting plate. Note, there is a left and right plate. Insert the body mounting plate over the pin in the front, and lower the rear end of the plate over the rear pin. Then lock it in place using the supplied pins.
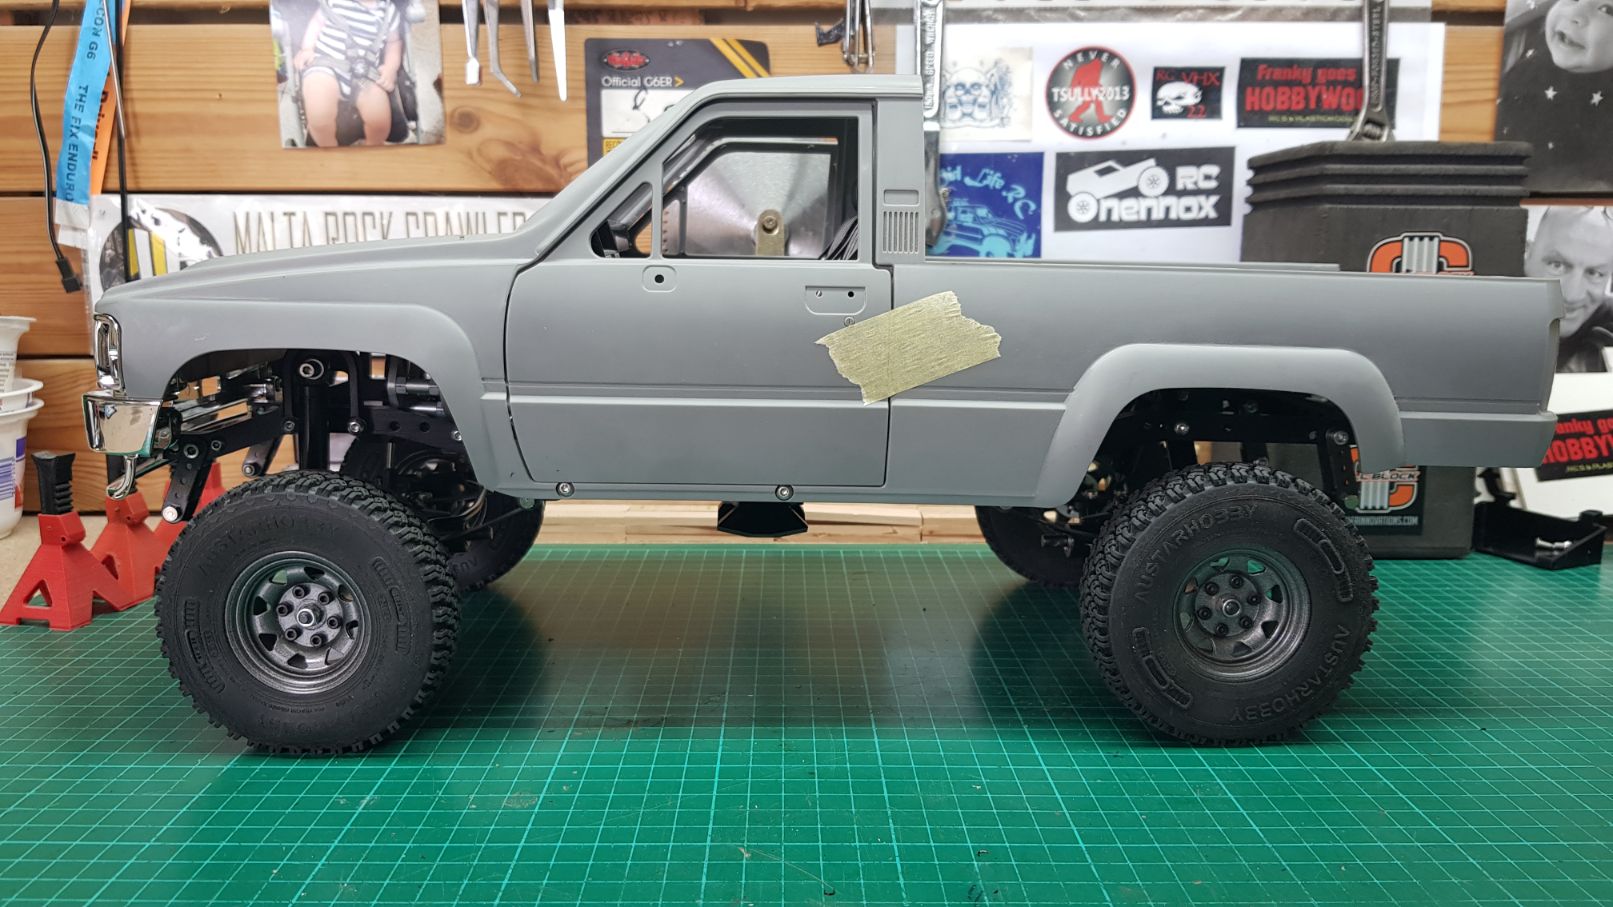
Here you can see the body screwed firmly to the body mounting plate. It is a simple process with an even greater result. The body is now in place and help securely, Here are two images, one from each side.
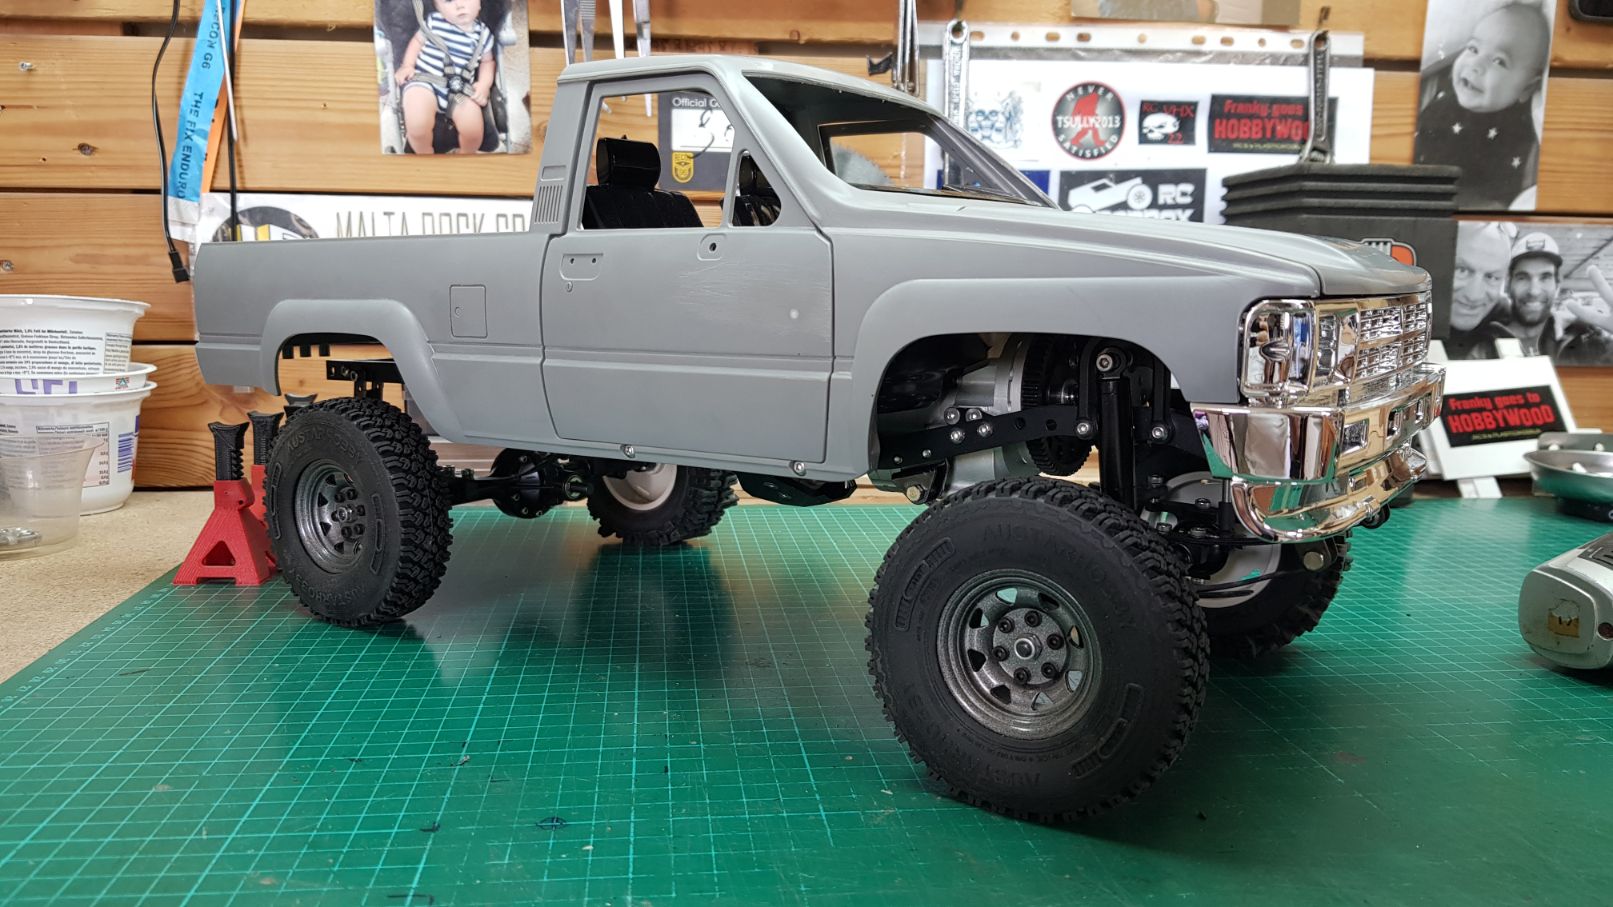

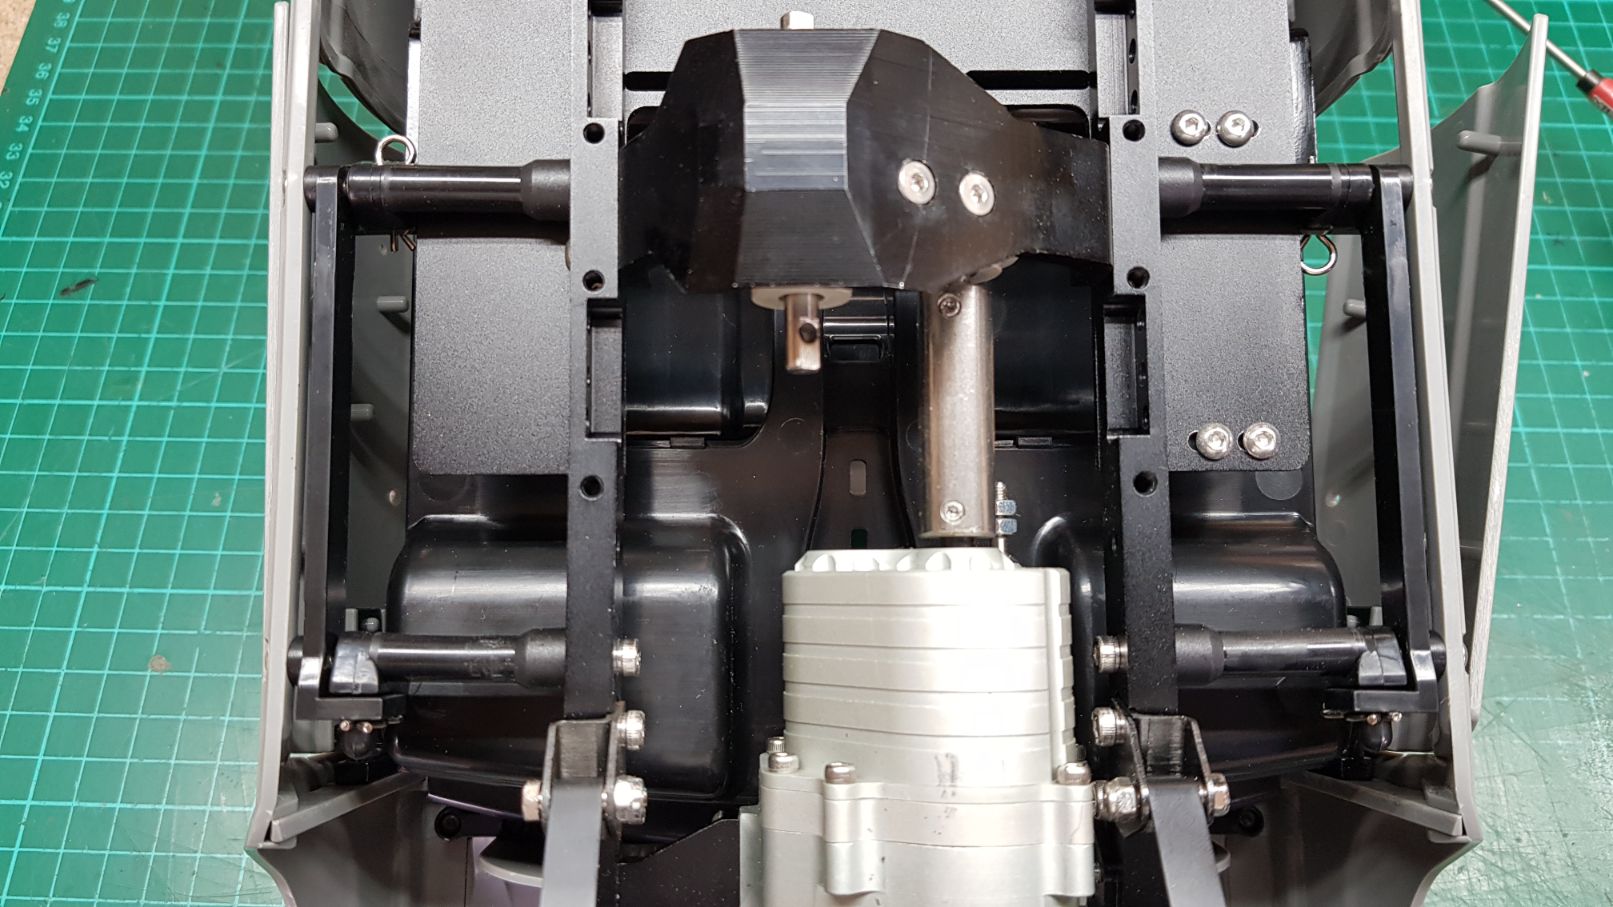
The body will mount parallel to the chassis, only revealing that HUMONGOUS transfer case plate (which is too low in my opinion, but who am I to contradict?)

Here's what it looks like from the underside.
Now I am seeing what I never liked about the TF2 and this body. The body rides TOO high. In reality, the body sits well on the chassis but because the suspension is LOA (leaf over axle) then you have the high ride effect, which, in my opinion, is UGLY. You will notice the rear of the RC riding lower than the front. I'm missing a part, which I am waiting for, and when that gets here and I've installed it, I will attempt to lower the whole ride height.
For now, this is it. Will wait for parts to arrive and update you then..
|