Here is my 1/16 Scale Garage Build Blog..
Please note that this build has been going on for a few months now. Future updates will be posted as they happen. This first post will show progress to date.
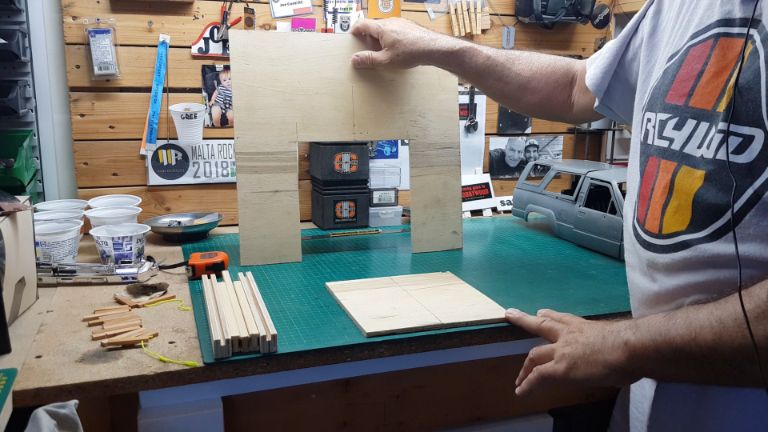
I am building this for someone very special and I am honored to have been asked to do this  I am building it around the size of his favorite truck, which measures roughly 10cm x 12cm x 20cm. I am building this out of 6mm plywood and have started by cutting a 40cm square. I then cut out the door, measuring 20cm x 20cm I am building it around the size of his favorite truck, which measures roughly 10cm x 12cm x 20cm. I am building this out of 6mm plywood and have started by cutting a 40cm square. I then cut out the door, measuring 20cm x 20cm
I will be adding a frame around the door on the outside wall. It will serve for decoration and to cover some screws which I will use to affix the shutter rails on the inside wall.
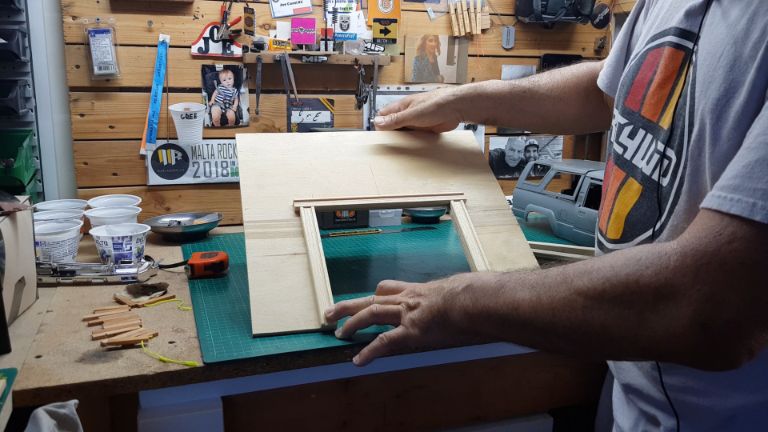
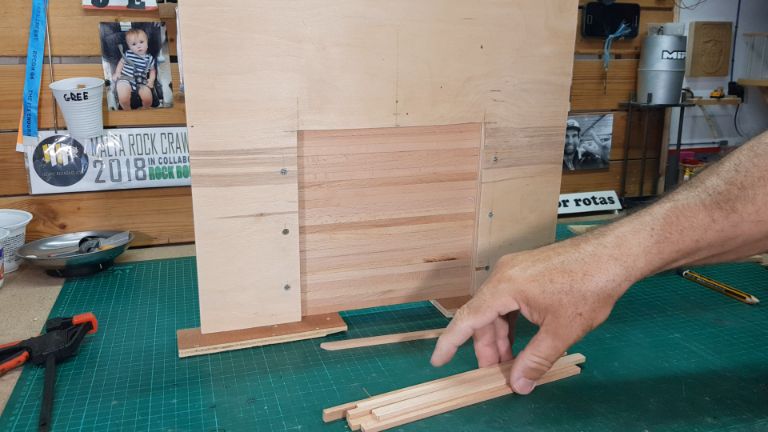
Here you can see the screw heads and the shutter rails.
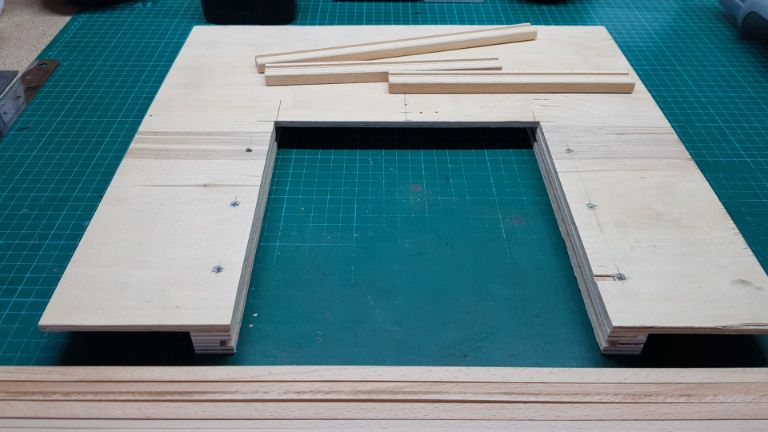
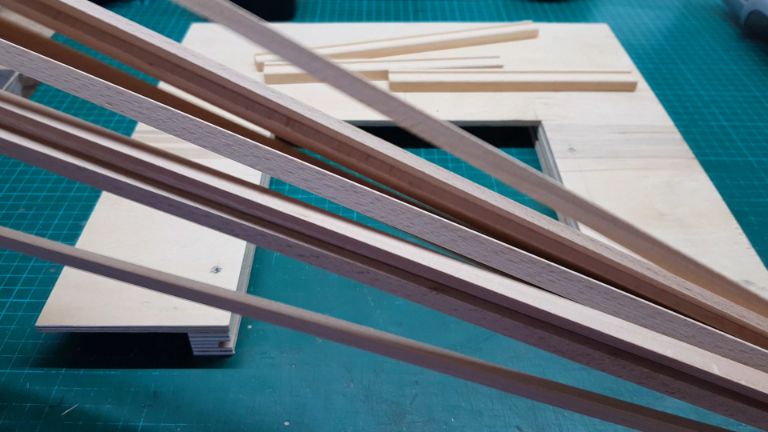
This is the wood I will cut up to size, to make the shutter itself. It will be guided up an down the door opening, using those rails.
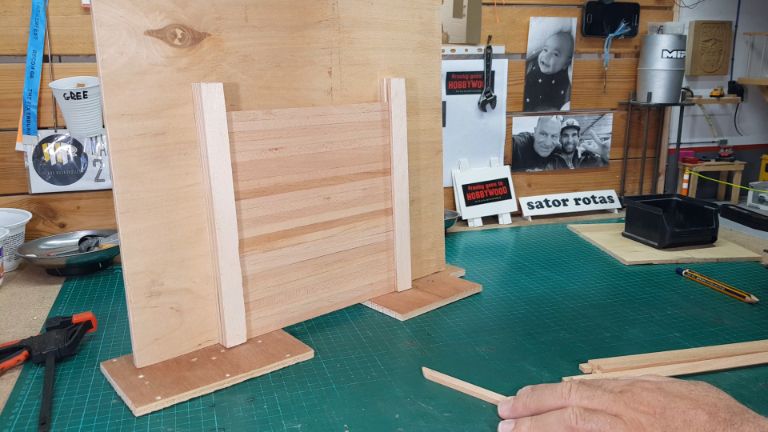
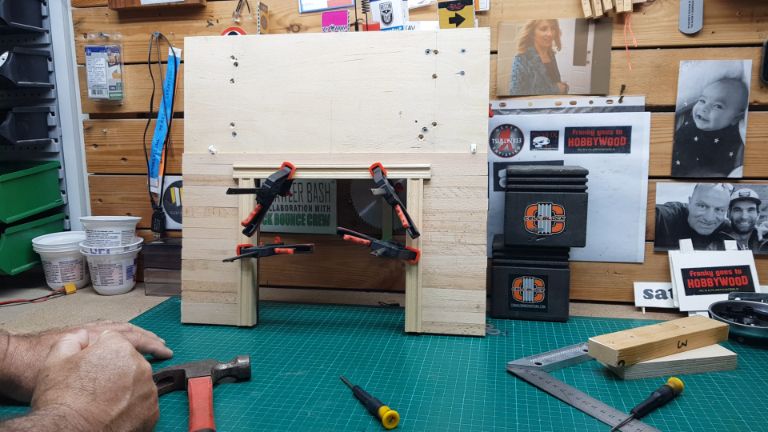
Here you can see the shutter already taking shape and placed inside the rails.
They move freely up and down as you can see.

Here's the view of the rails with the shutter in place. The shutter here is not ready, It still needs to be fastened together.
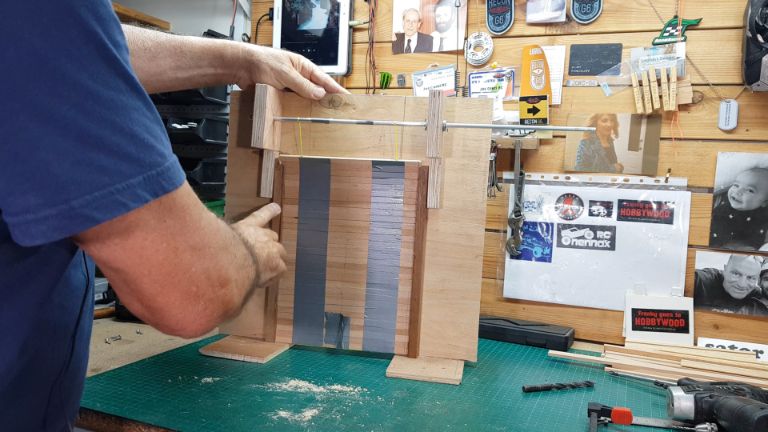
Here you can see a string in my hand. That string goes through down one side of the shutter, (through each individual piece of wood forming the shutter) and up the other side, thus balancing the shutter when being pulled up. On the workbench you can see the servo which I shall be using as the shutter motor, and the shaft on which the shutter will wind.
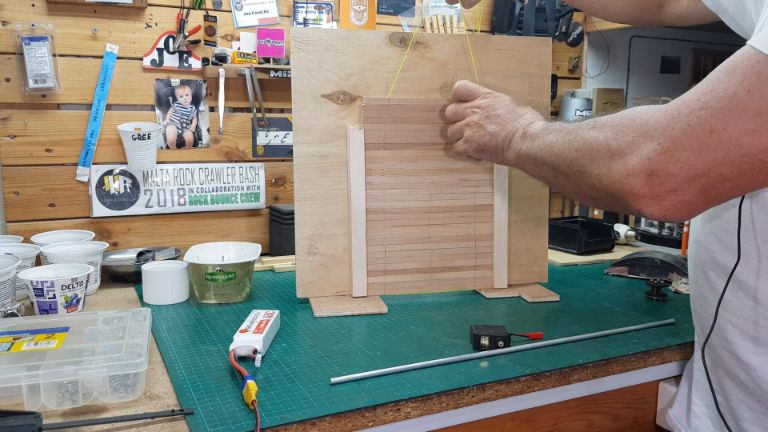
I have passed both ends of the string through holes in the shaft, wound them once an taped off onto the shaft itself.
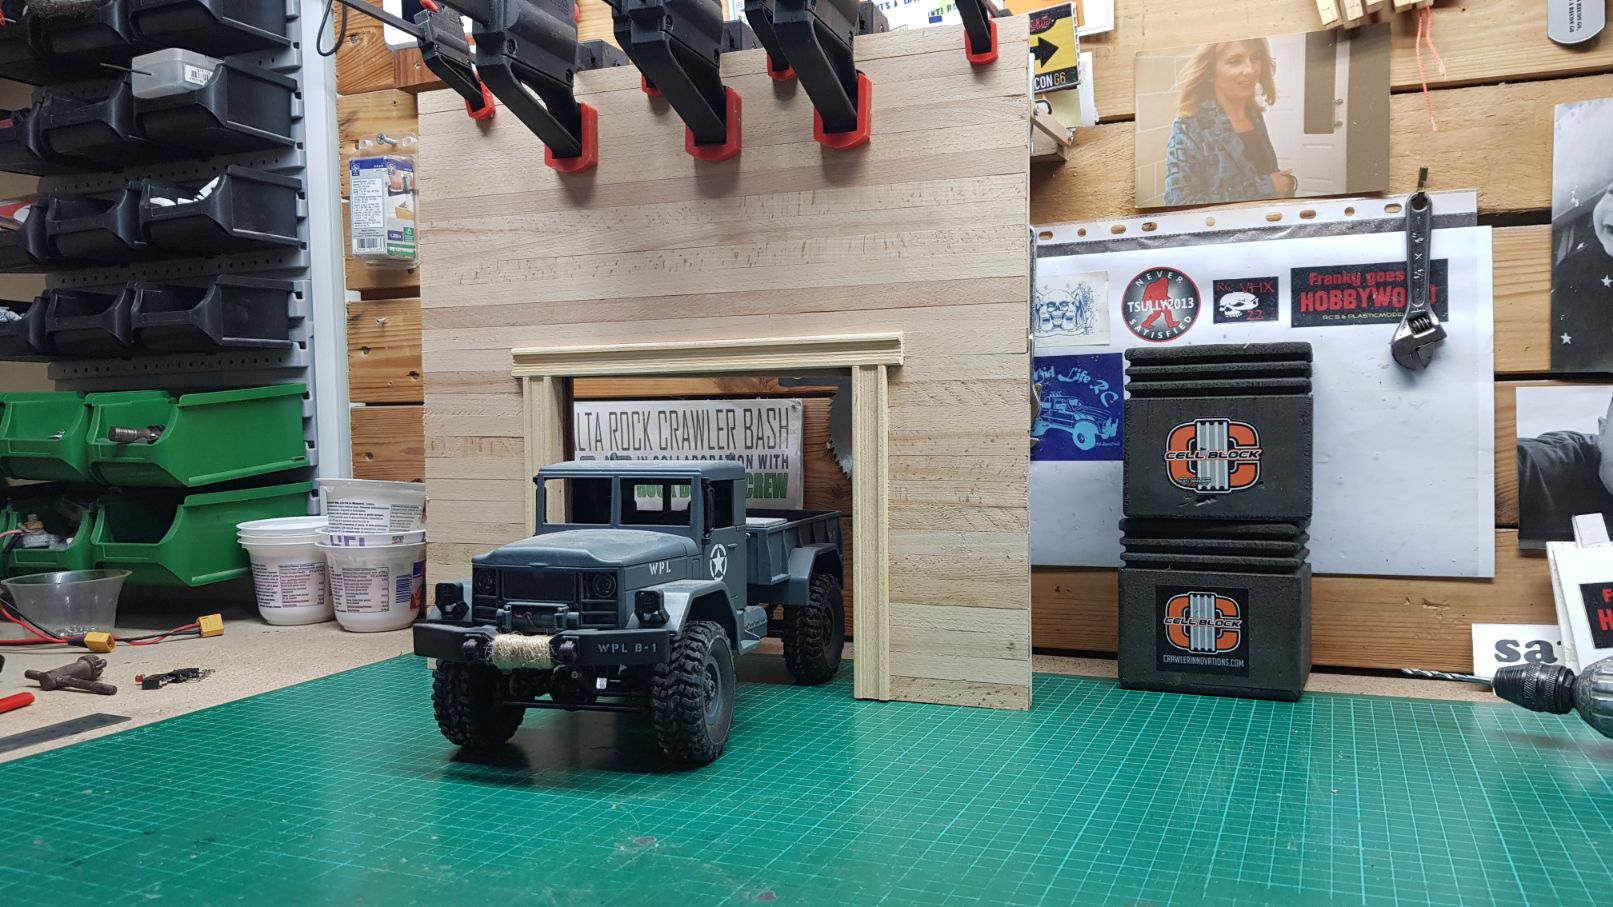
Before I can continue the inner side of the garage wall, I will need to start fixing the cladding onto the front of the garage wall. I need to know how far up the garage door needs to go. I don't like to make it vanish behind the top frame of the door. I'd like it to stop 1cm or 2cm below the top door frame.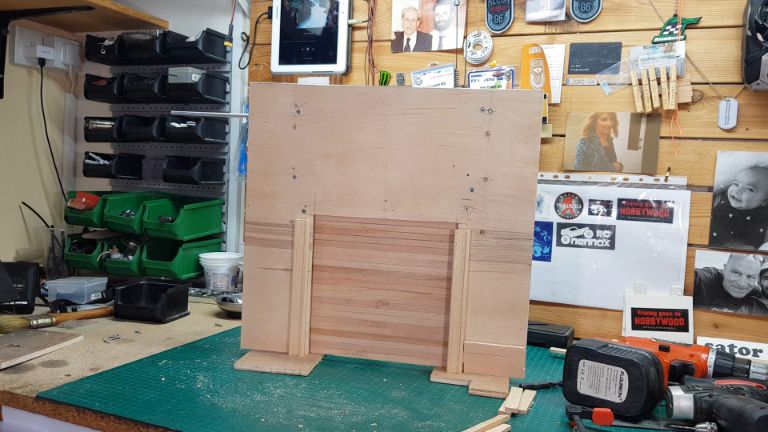
As you can see, I have started installing the front wall cladding. This will cover all those holes in the wall, plus it will make it look more scale
And here is the last picture I took before calling it a day. I glued the last parts of the cladding and left it to dry overnight.
The next part of the project will be to start working on the mechanism that will make the door open and shut.
Until then |