How I solved unbalanced cells while charging
In the past 4 years I have handled quite a number of lipo batteries and so far have only met a few problems with them. The process is quite simple and I will not get into it, but what I wish to share with you is what I have met over these years.
Why do I have a normally working lipo battery do all sorts of strange things? Why does it suddenly become so unbalanced? Why do I get so many errors or incorrect voltage or an incorrect number of cells error?
With all these errors, I’ve never thrown out a battery unless it was so swollen that I felt unsafe to have it under my roof. Only of the most problematic contributors to these errors, I believe, is water. That is water, as in when we take these RCs all the way to the bottom of some clear water puddle, across a river or some muddy pond. Sometimes, like in my case, salty water.
The battery terminals start to corrode right away but the worse damage is done when it is allowed to dry untreated over a period of hours or days. Your worst enemy is your famous balance plug which is normally only used during charging, and this is where the problems begin. In many cases I have had, it was the balance plug giving a false reading to the charger. There were times when the charger only detected 2 cells instead of 3 cells. There were instances where the charger had such a bad connection with the lipo through the balance plug that the voltage per cell was erratic.
The solution is to change the balance plug on the battery in question. The holes are so small that cleaning them is not easy. I believe it is easier and better to simply change the plug. How do you change it? There are a few ways, but I choose to simply buy prewired plugs with about 10cm of wire, cut the old one off and join the wires to the new wires on the new plug. If you do this there is a golden rule. Cut the wires ONE AT A TIME. Cut ONE, JOIN IT TO THE NEW PLUG, INSULATE THE JOINT and repeat to on the next wire.
Not every case is the same, but for me, this worked most of the time. I'm writing this because I have just done a plug swap an hour ago because of the crazy behaviour of the lipo I am trying to charge for tomorrow. It may not always be the case, but looking after your equipment is a necessity and not an option; otherwise, you will become the best friend of your local hobby store owner.
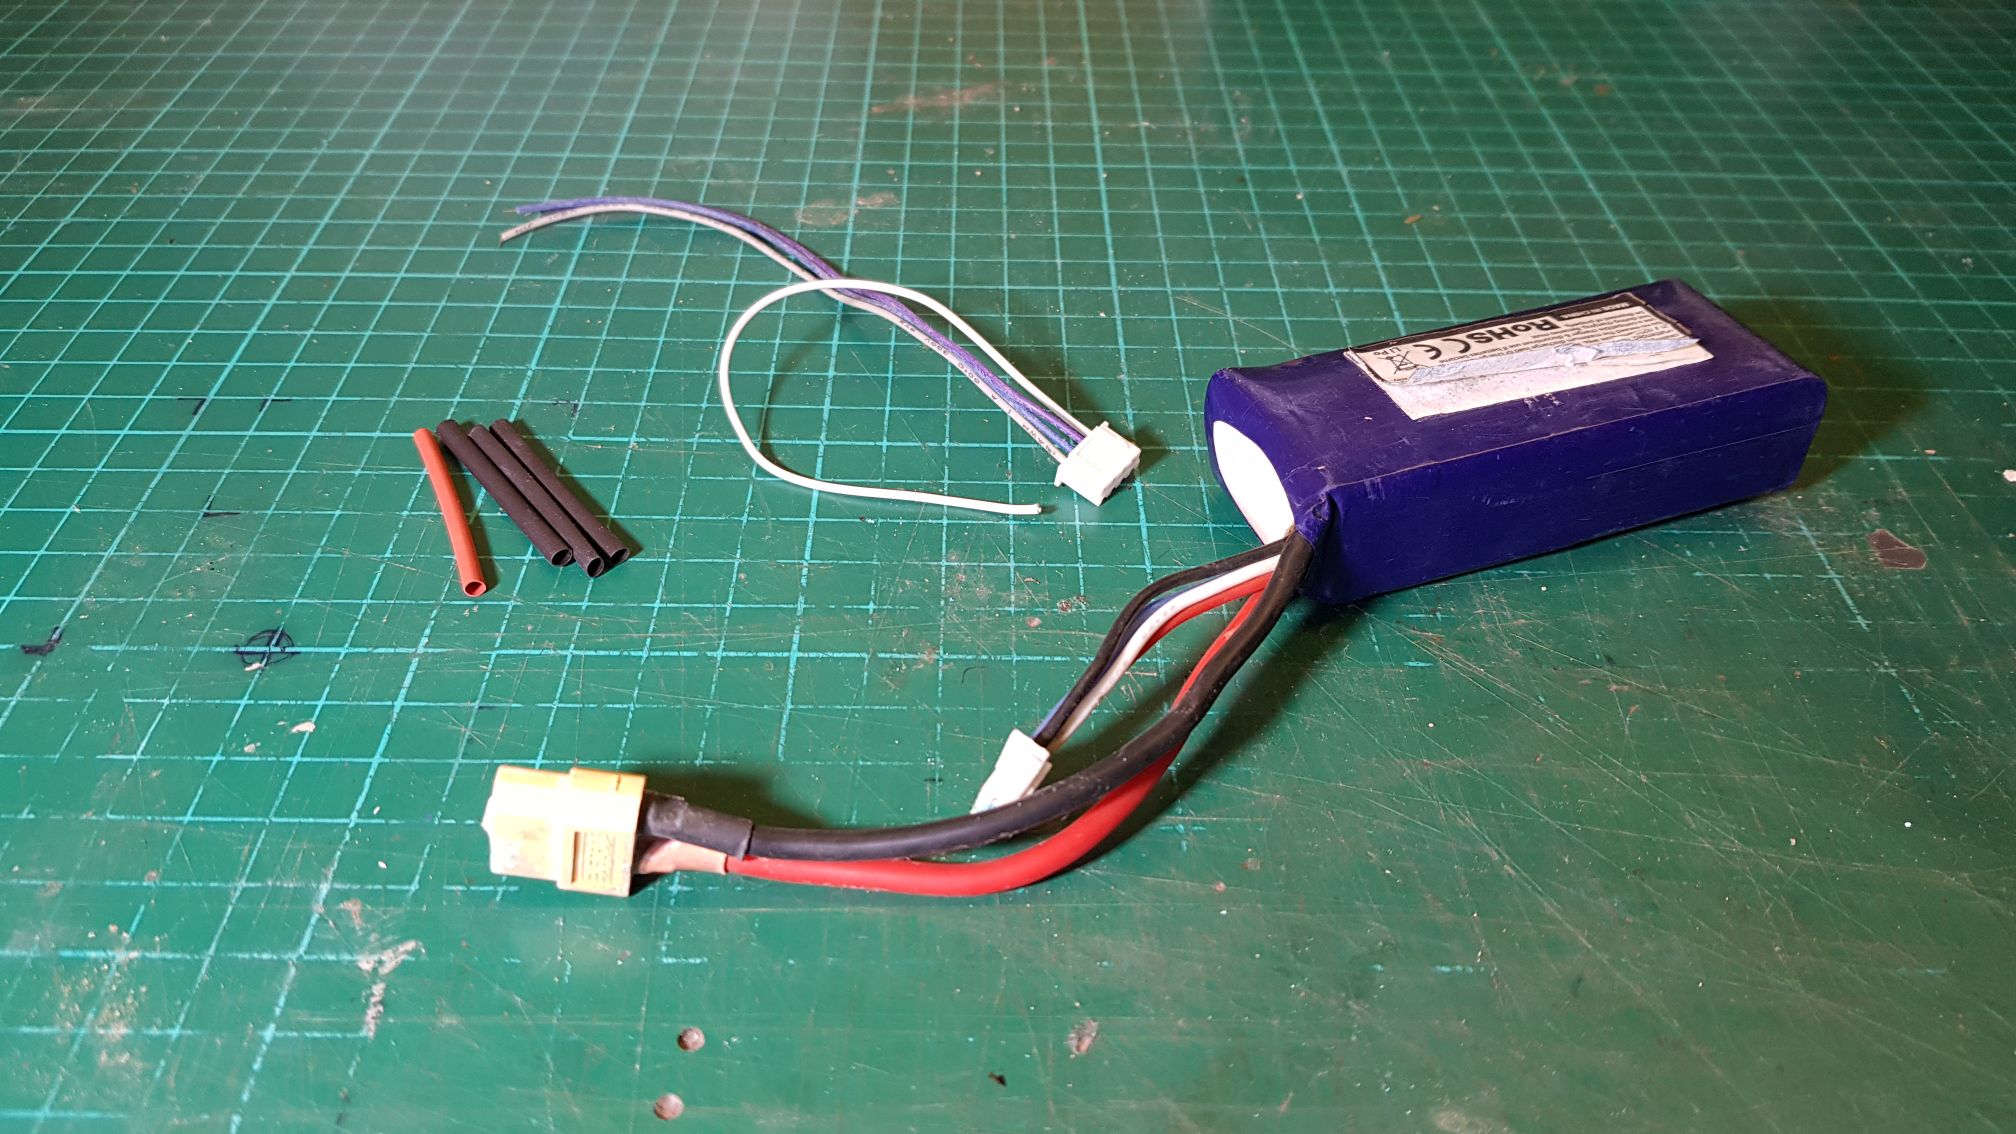
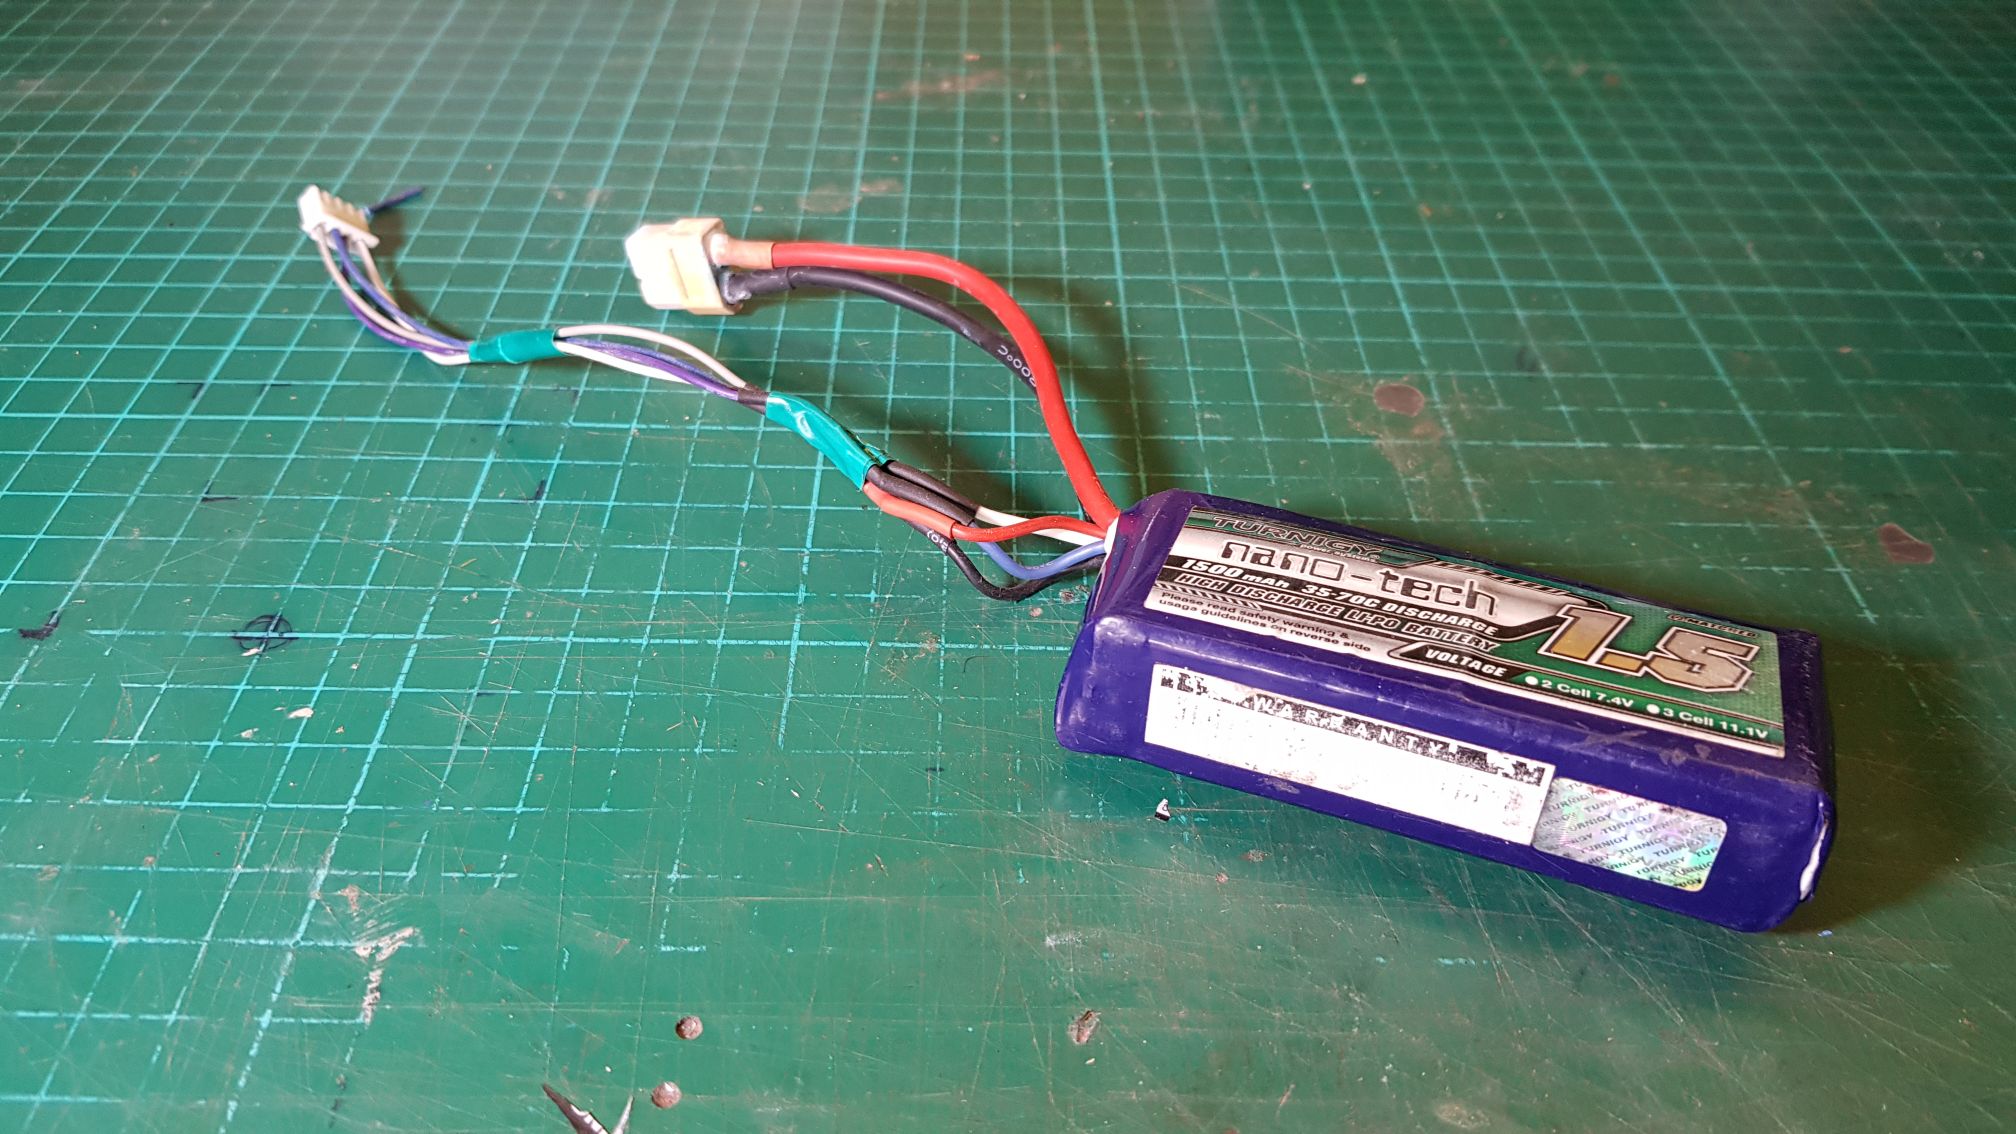
This demonstration is being shown using a 3S lipo battery. Here's how I did it. You will need
- the faulty battery (obviously)
- the new prewired balance plug
- heat shrink
- tools
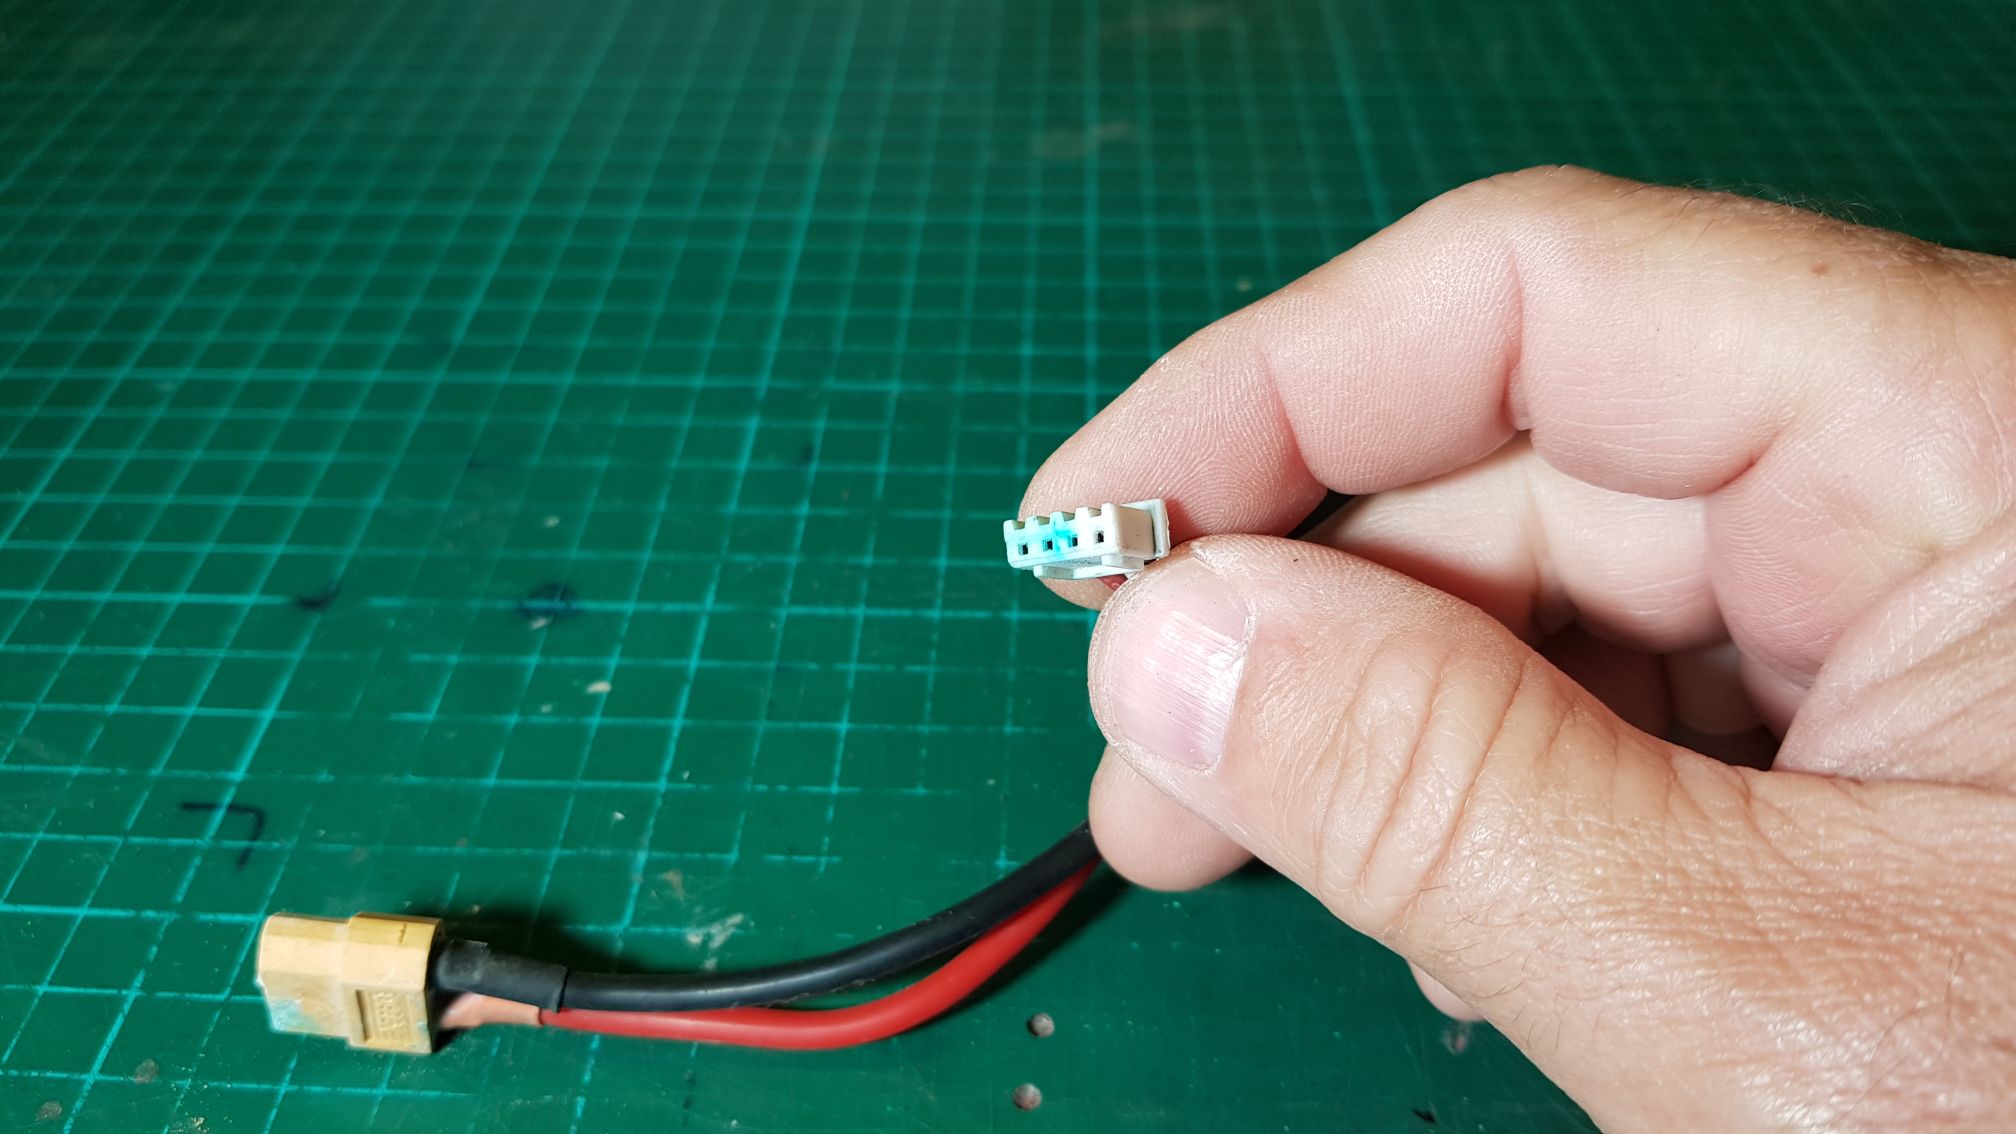
As you can see this balance plug has seen better days. This corrosion is on the outside where it can easily be cleaned. The same could not be said for inside the plug.
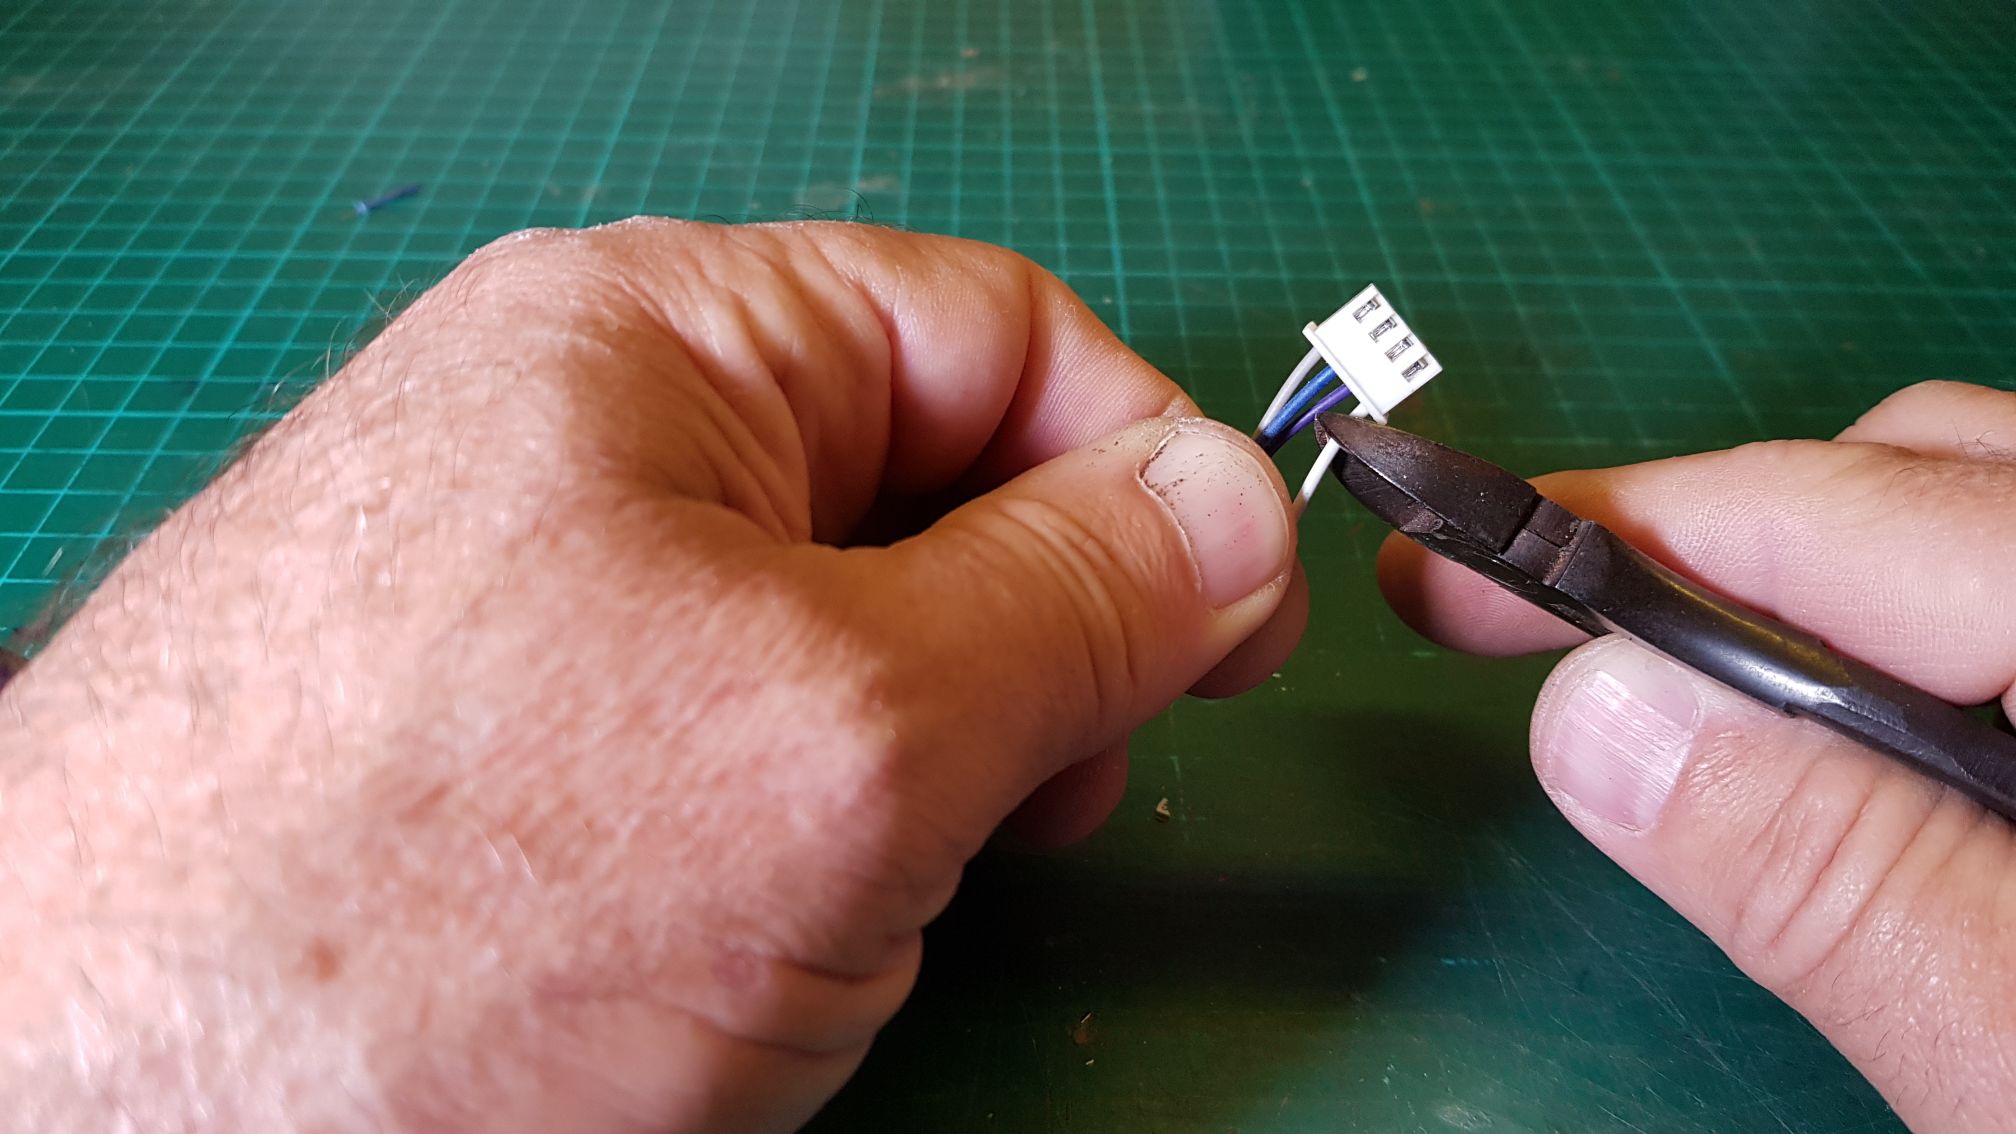
Place the old balance plug with the flat side facing up and cut the first wire on the right. Colours in these images may not match the colours on your battery.
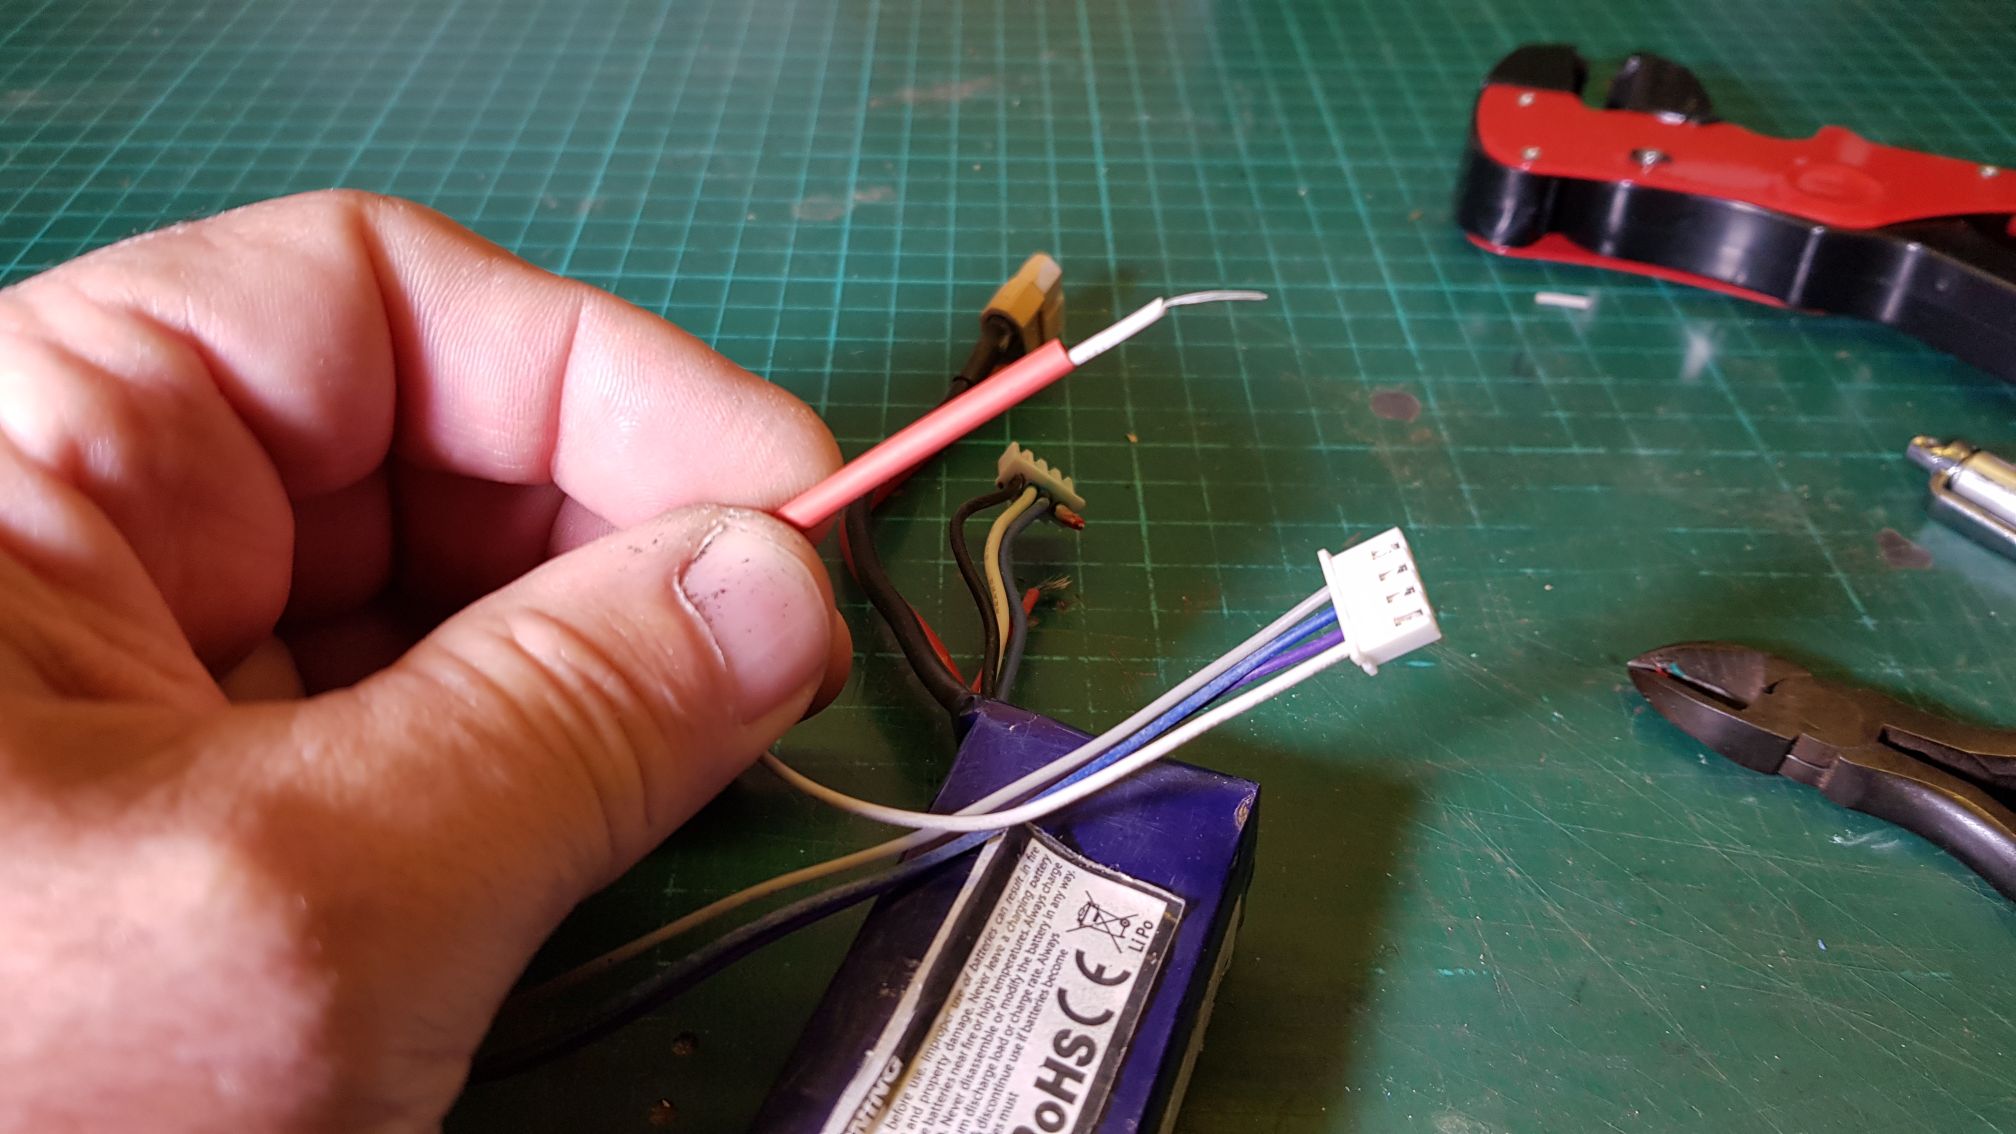
Place the new balance plug with the flat side facing up and follow the rightmost wire to its end
and insert the red heat shrink (in my case because the rightmost wire with the plug facing up is the positive wire)
After joining the tow end of the old and new wire together in any manner you see fit, slide the heat shrink over the joint and heat it up to shrink over the joint.
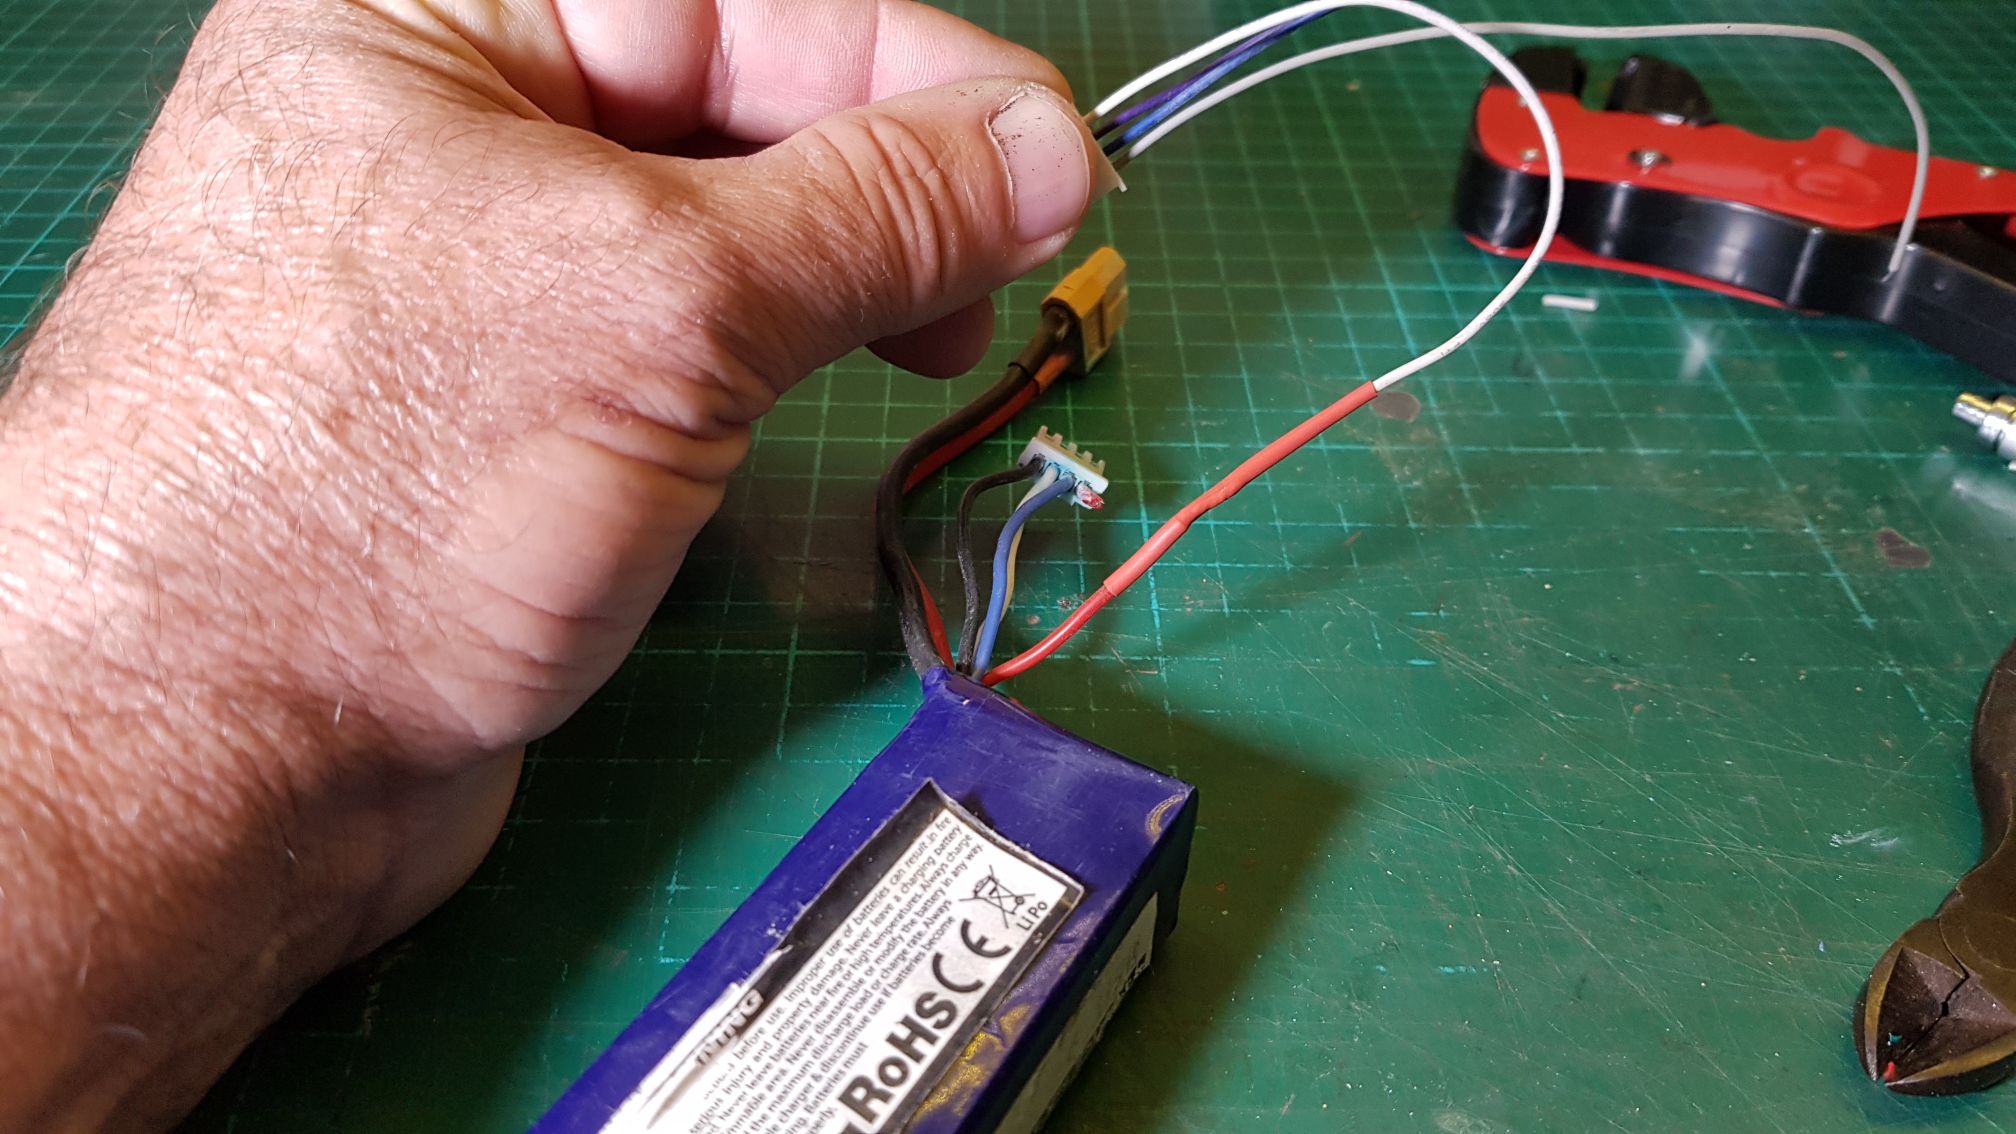
Do the same for the remain wires and remember, ONE AT A TIME
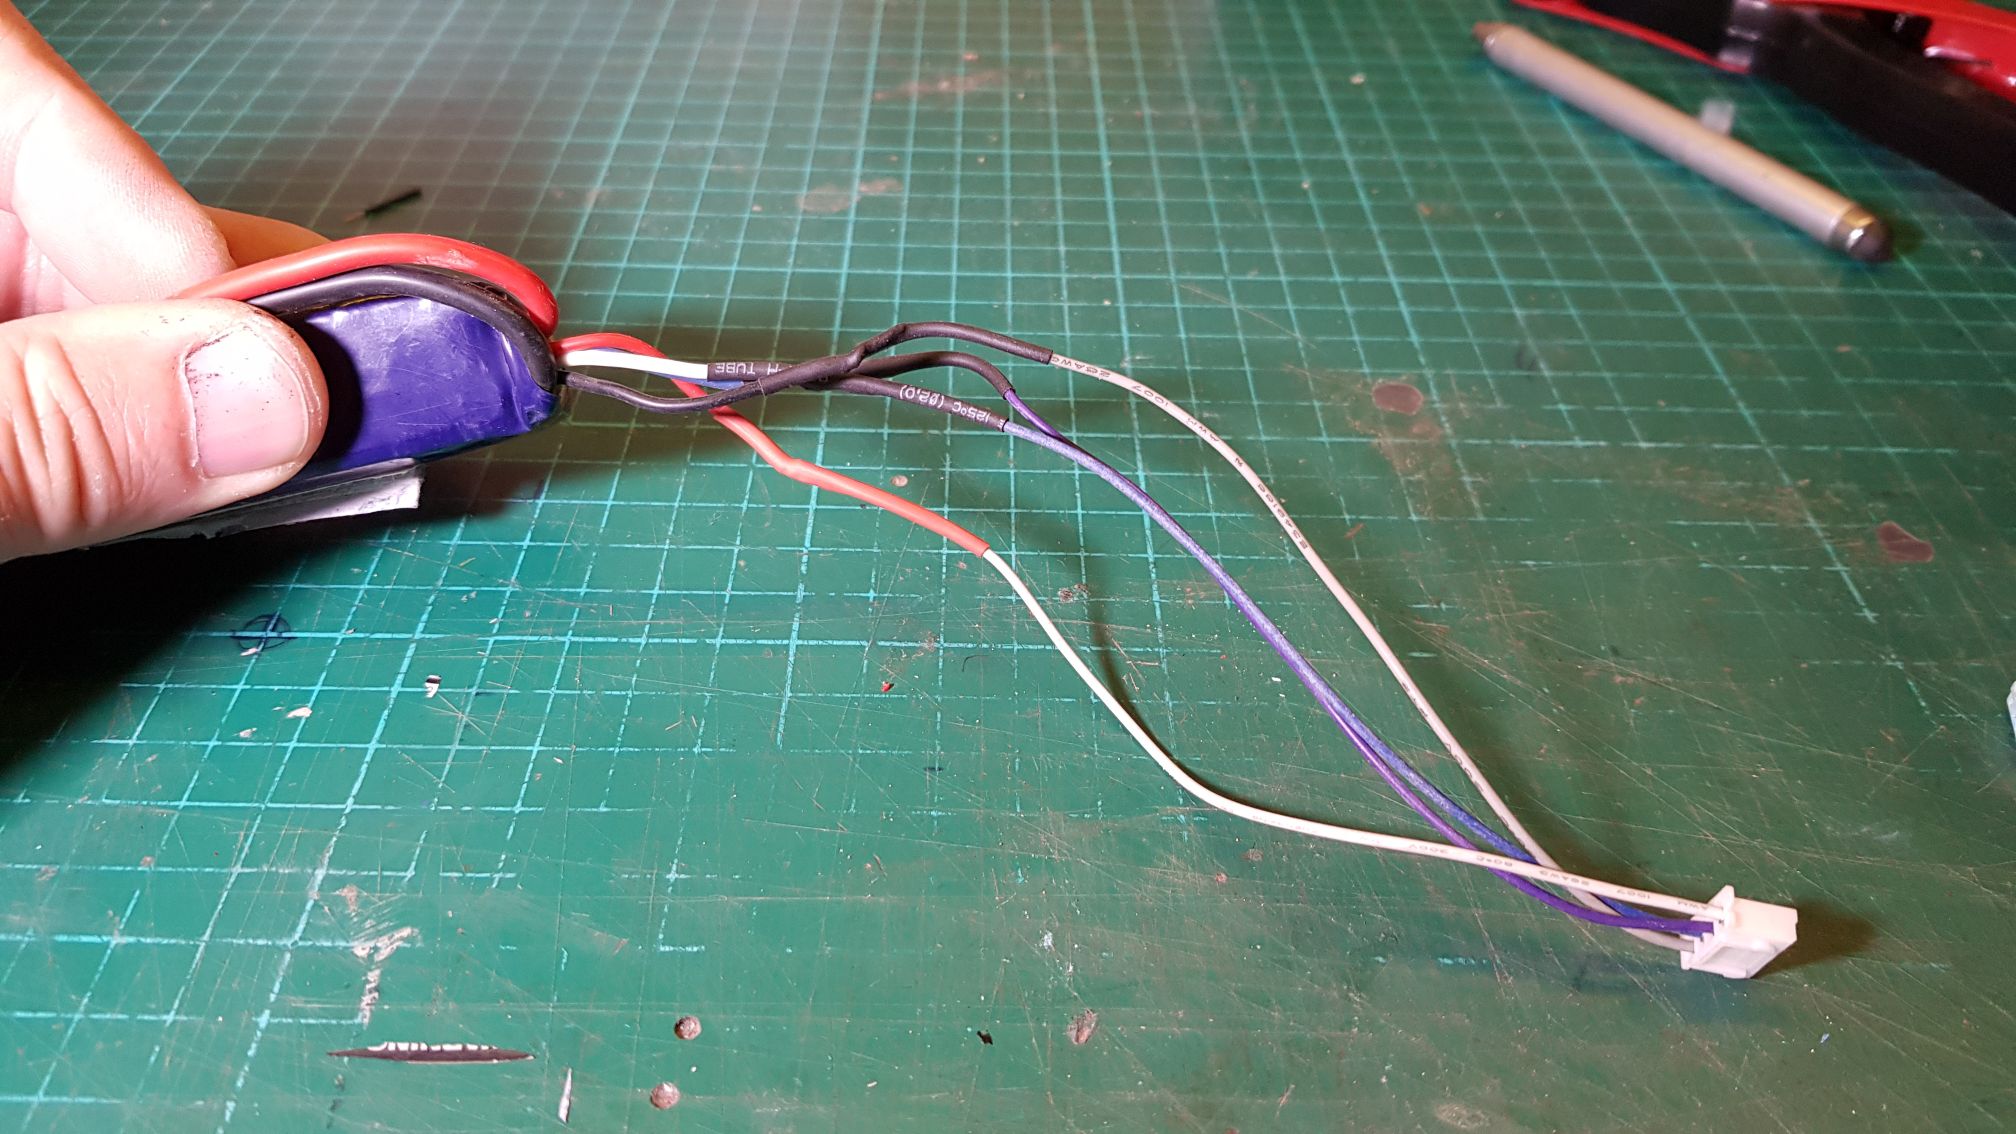
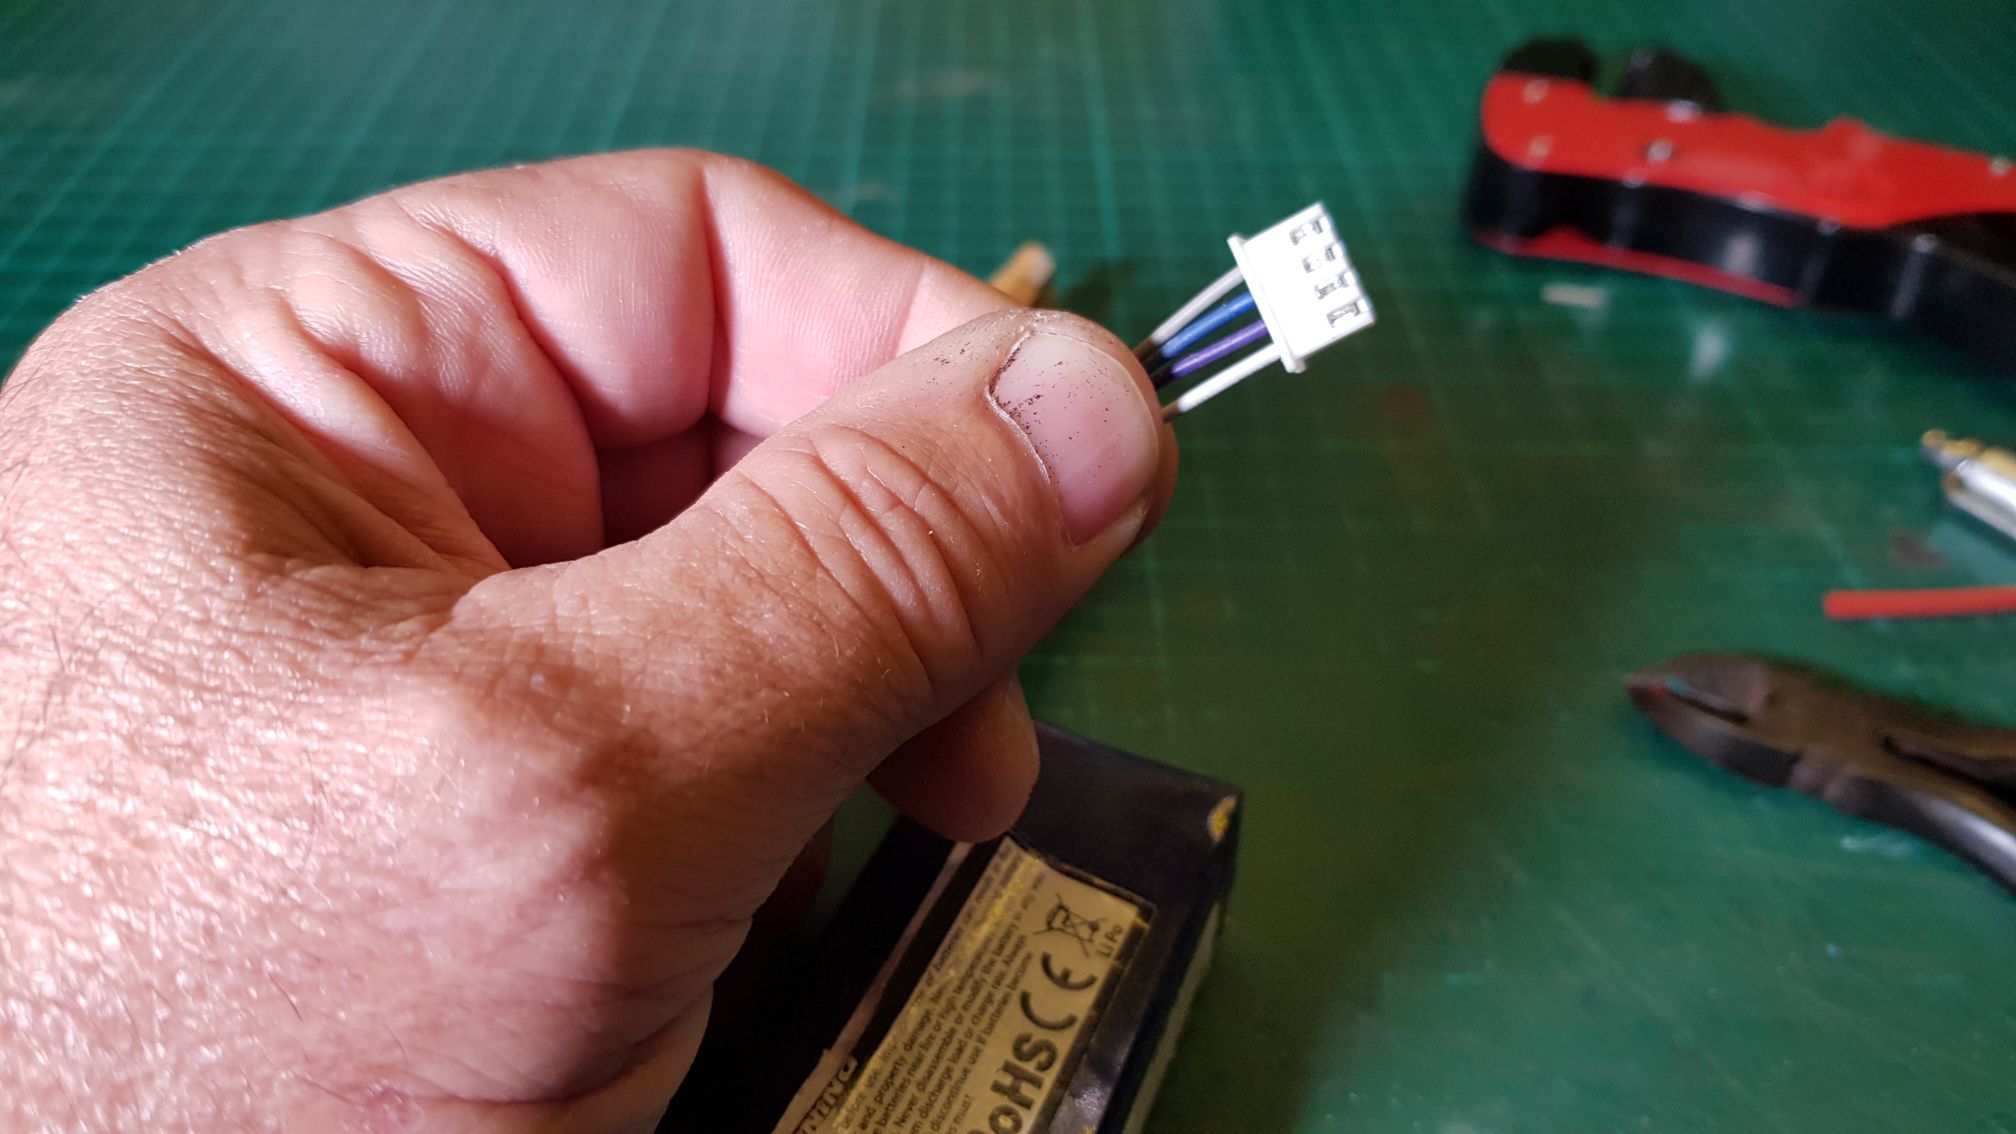
When you're done, bunch the wires together to make a tidier job.
The wires can be shorter or longer, it boils down to user preference.
If you find this of any help, please share with your friends. |